Short Vowel Sounds

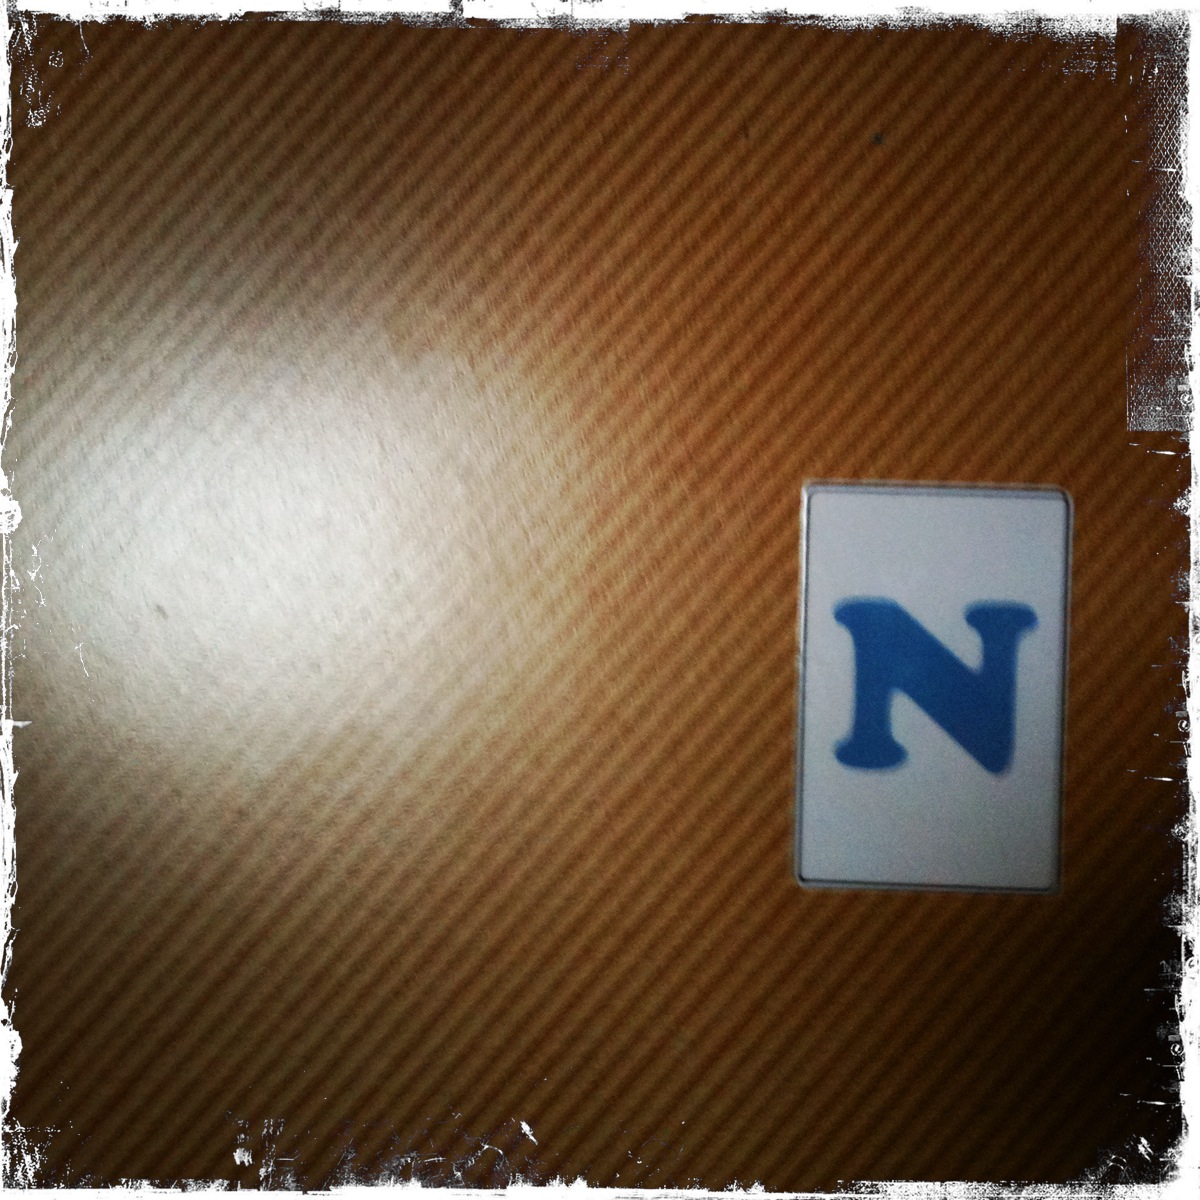
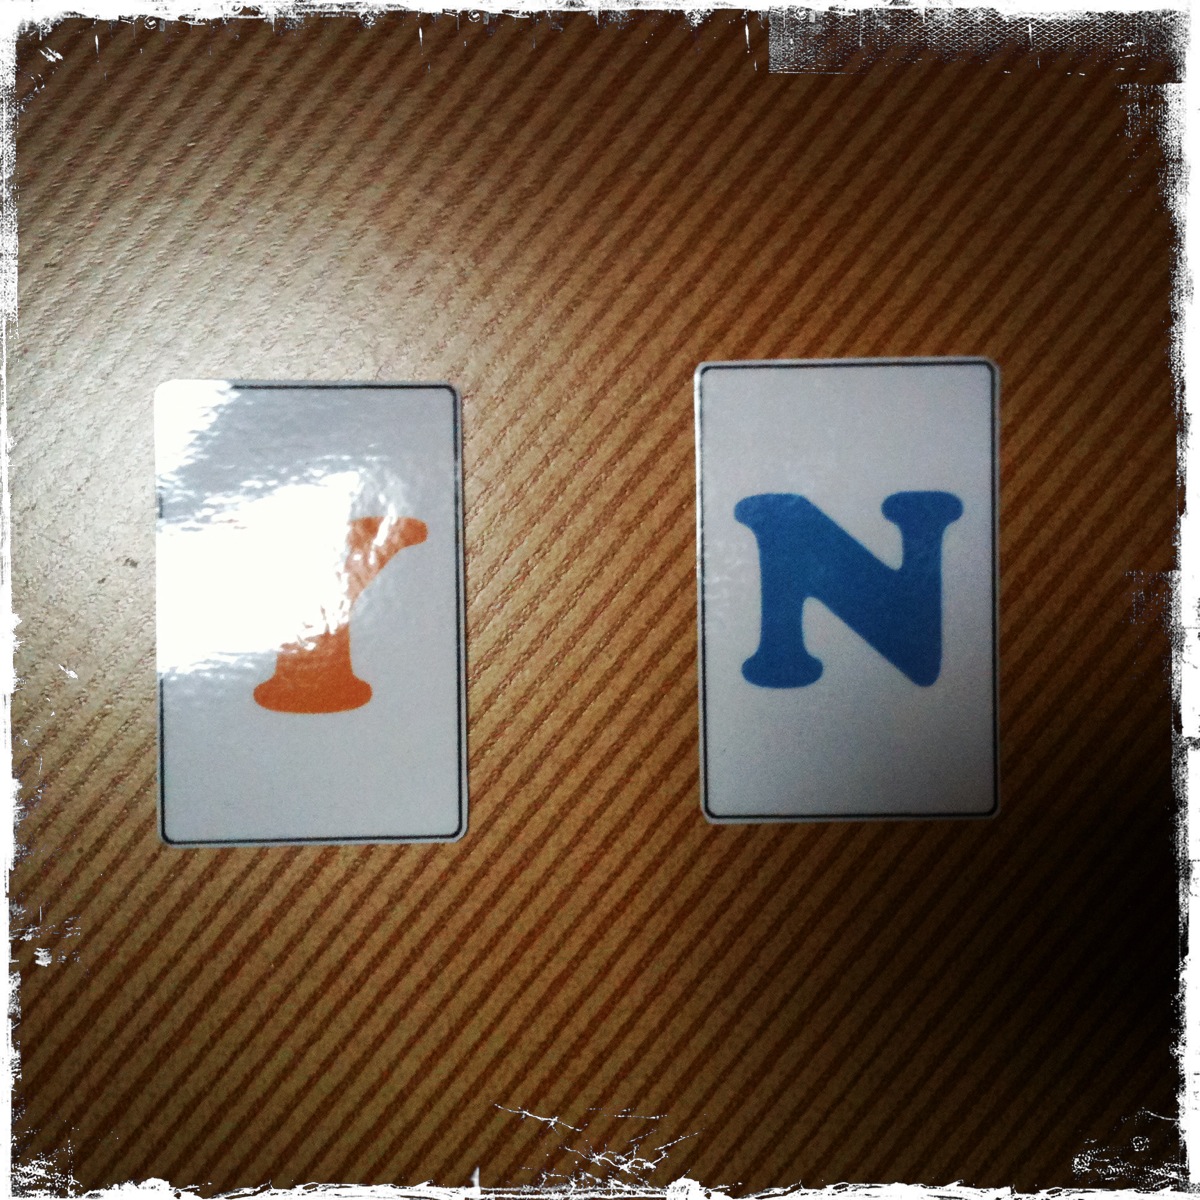
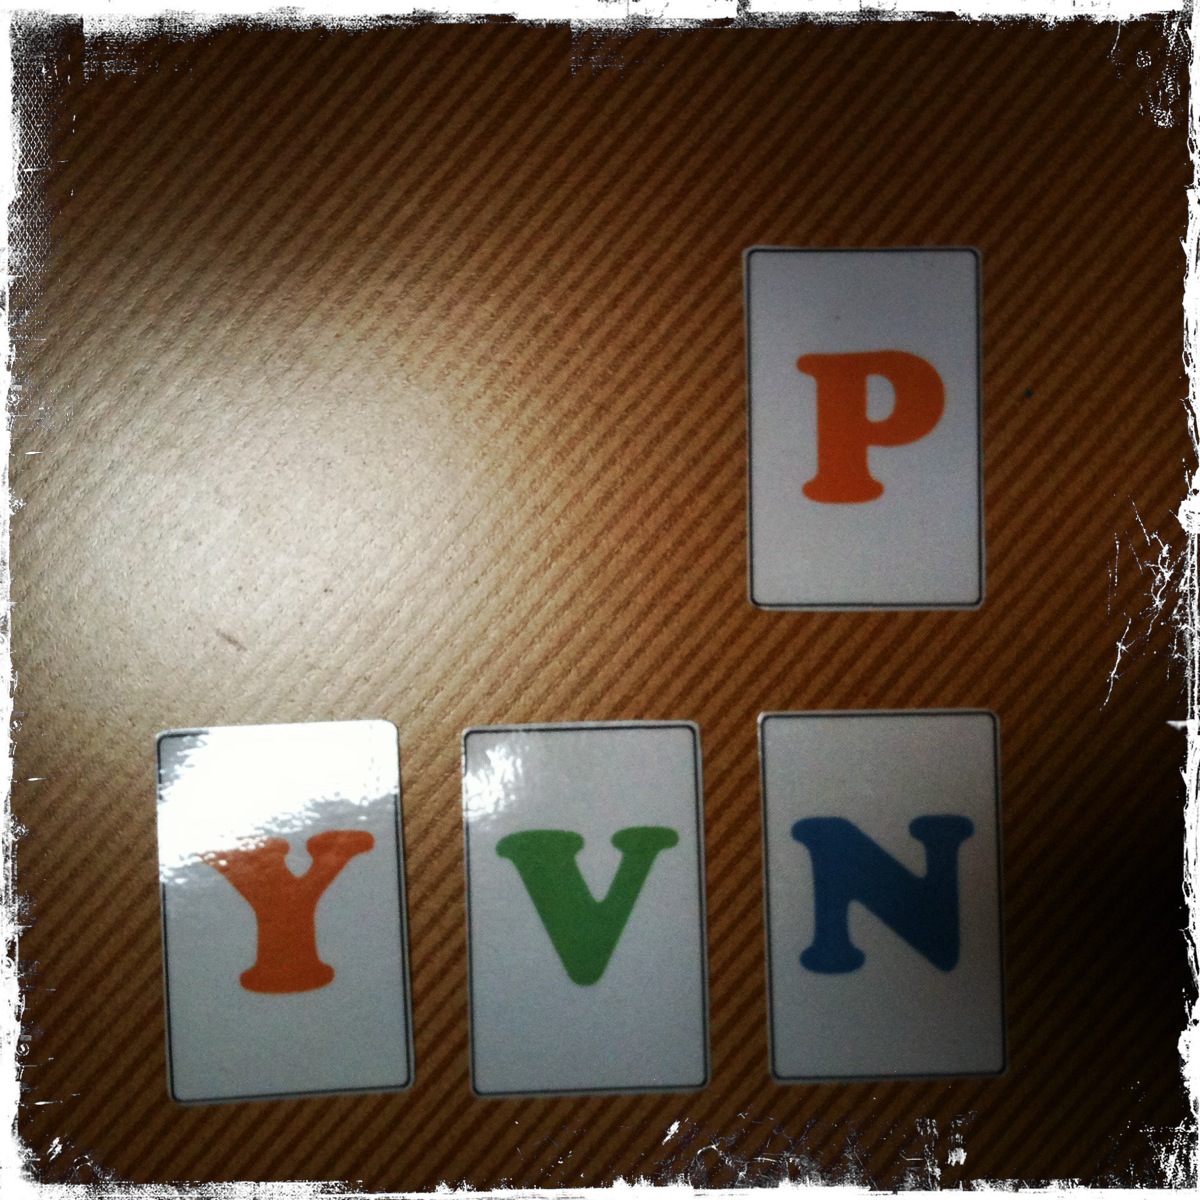
It’s a challenge to teach phonetics here (well I am sure everywhere, but I only have experience here), because the kids don’t usually have a large enough vocabulary  before they start reading and writing in English. Kids usually learn to spell by memorization.  I really wanted to create a game where kids could start listening/pronouncing to see if they could distinguish short letter sounds-so they could start to learn to spell phonetically, just as they learn to spell in Italian.  There are a few words that the kids would know (at least according to Italian curriculum) and a few new ones.  This way they wouldn’t have to learn a whole new vocabulary, but couldn’t depend on the fact that they knew how to spell some of the words already.  We’ve used the cards to play a few different games, so far it’s been a good challenge.   For all the games you will need to print off 1 copy each of card, laminate and cut out.  I’m including what each card is, because although I thought it was clear, the kids  pointed out certain cards could have more than one name. (The little stinkers don’t let me get away with anything :o)

halligalli short a 1

cat, bag, sad, jam map, lamp, crab, flag, clam, black

halligalli short e

ten, bed, net, red, egg, tent, desk, sled, bell, seven

halligalli short i

pig, pin, sit, six, big, king, fish, milk, ship, stick

halligalli short o

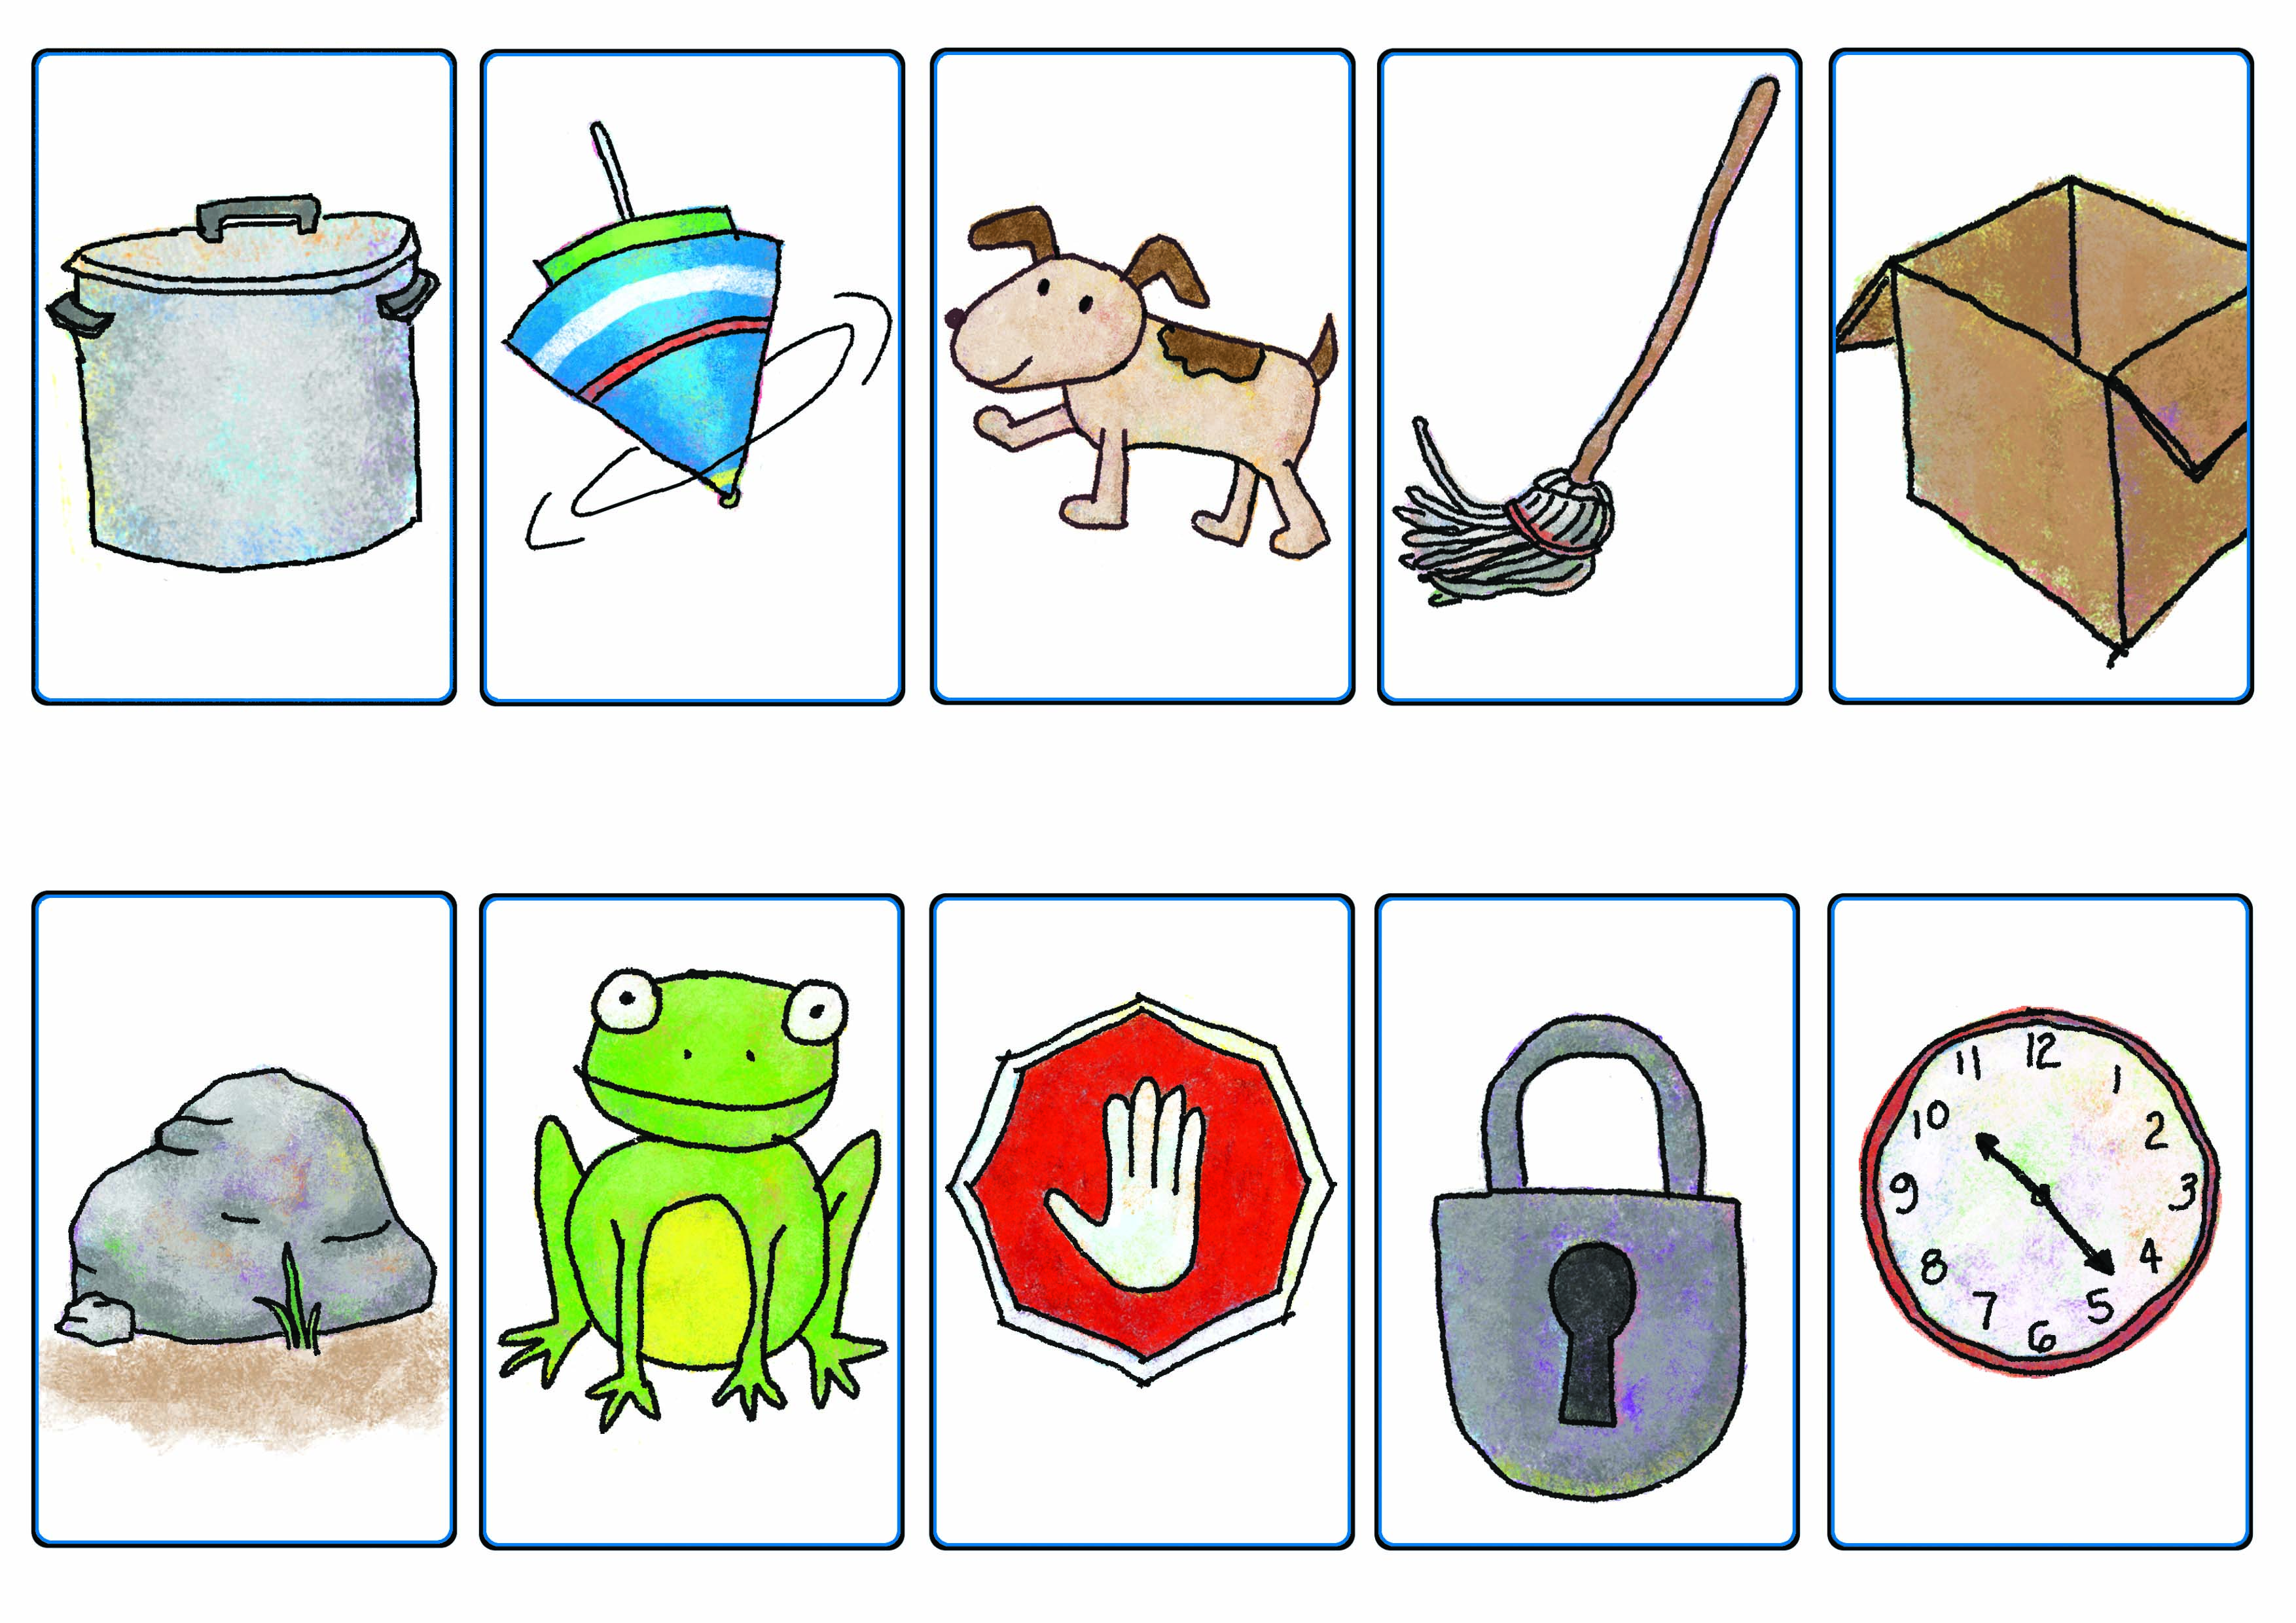
pot, top, dog, mop, box, rock, frog, stop, lock, clock

halligalli short u

bug, bus, sun, gum, sub, plum, duck, jump, drum, truck

Here are the games we played:

What’s Missing

Single Sound Slam – This is a good game if you are just working on 1 sound, for example short a.  You will need a ball or a bell.  Place the bell in the center of the table. Take 1 short  a card out of the deck and place it face up.  The teacher flips one card over, if the sound matches the face up card (in this case short a), the first kid to grab the bell wins a point.  If the bell is grabbed and the sounds don’t match, the student gets a point taken away.

Sound Slam – Pull out 1 card from each sound and place them face up on the table.  All the kids sit facing the teacher.  The teacher flips 1 card and the first kid to slam her hand onto the cards with matching sound wins a point.  If the wrong card is slammed, a point is lost.

Memory, with a Twist –  when I told the kids we were going to play Memory, they all said, ‘But, the cards don’t match!’  And they were right! The game is played just like regular memory, but instead of finding matching pictures, the kids find matching short vowel (or middle) sounds.

Written Memory:  If the kids already know how to write, take out all the cards of one sound.  Give the kids a few minutes to memorize all the cards.  Take the all the cards away and then have the kids write down as many cards as they remember.   I never tell the kids that the cards are spelled with the same vowel, it’s amazing that they figure it out and make fewer spelling mistakes.  It seems too easy, but I think it’s okay because the challenge is to remember the cards, not struggle with how to spell.  Plus, spelling in English is so difficult for kids, sometimes it’s good to play an easy spelling game, where they can feel proud and not easily discouraged.  The game can also be played by mixing up the cards, but it’s much more of a challenge because the kids usually remember fewer cards and struggle with the spelling a bit more.

Complicated to explain, but not so complicated to play:

Flip Flop – this is a good small group game. Prep: you will need the cards, plus a bell or a horn or a small ball to put in the center of the table. Each player is dealt a card, until all the cards are dealt out, each player should have the same number of cards. (There are 50 cards, so this only works properly if you can divide the number of players into 50.  If you have 3, 4, 6 or 8 players, you will have to take out 2 cards (of the same sound)- that way there will be 48 cards.  If you have 7 players, you will either have to take out 8 cards, so that there will be 42 cards in the deck or take out 1 and there will be 1 card that won’t have a match.  That said – here is how to play: each player places their stack of cards in front of themselves face down.  One at a time players flip a card face up, (making sure to flip the card towards the group and not towards himself, so that everyone can see).  When there are 2 cards of the same sound face up, the first player to grab the bell in the center of the table says the matching cards/sounds and wins those 2 cards.  Attention, if that reveals 2 more cards with the same sound, the bell can be grabbed again.  Once everyone has flipped over 1 card, the round begins again with each player flipping another card face up and stacking it on top of his previous face up card.  (Each player should have two stacks of cards, one face down and one face up).  When all the cards are exhausted, each player gathers his stack of face up cards and play begins again.

For all the games: make sure you and the kids stretch out the vowel sounds so the kids can hear them better.

If you have any other ideas of how to use these cards write us about it, we’d love to hear what you have to say.  Here is a special challenge:  you may have noticed that each set of cards has 5 three letter words, 3 four letter words and 2 five letter words- there is some sort of Scrabble game just waiting to be invented!).

Emotional Pumpkins

pumpkins

Since we teach English Through Art, it’s not always easy to create a good balance between teaching English, allowing enough room for the kids to be creative and experiencing different artistic techniques.  This project was a good one clear idea: creating pumpkins that showed various emotions-not too complicated on the English, the kids could get creative by drawing the emotions they chose and the shape of a pumpkin is pretty generic so they could experience watercolors without struggling too much with how to draw.

To learn the emotions we did several games before actually rolling up our sleeves and getting to work each session. We used the cards below we played memory, charades and pictionary.  Click on the link for our pumpkin emotions crossword puzzle.

flip flop cards 2We also had contests trying to create different emotions using our pumpkin game, the first few times we asked them to do which emotions to do and after a while they had fun experimenting and have each other guess what they were doing.  Before beginning to paint, the kids used the game to create emotions and then sketch them – taking careful notice at how the eyes, mouth and eyebrows had to be placed in order to convey the emotion they wanted to do.

IMG_2190When we finally dove in, we first divided a large paper into 4 sections and the kids used a black crayon to draw their Emotional Pumpkins.  They were instructed to draw 1 pumpkin and 1 emotion per section and to do the pumpkin as large as they could, but they had to stay inside the confines of the space and they had to try and use their sketches.  Using water colors the kids had to shade from dark to light inside each segment of each pumpkin to give the pumpkins more dimension.  This was a real challenge – trying to control a very spontaneous medium.  There was one more challenge to this project – the kids were only given primary colors to paint with, so all of the other colors had to be mixed.  (This was not the first project mixing water colors, otherwise I think I would cut this step out so as not to get too overwhelming).   They did great and had a lot of fun.

IMG_2272The final step was to have the kids talk about how their pumpkins were feeling. We were really proud of them, I think they were surprised at how much they learned.

What’s Missing – A Flashcard Game

To play What’s Missing, you will need several flashcards (FCs) and a square scarf, handkerchief  or other piece of NON transparent material.  Here’s how to play:

IMG_2462

1.  Set down one FC, point and say what it is – have the kids repeat the FC back.

IMG_2463

2. Set down a second FC and say what it is, have the kids repeat the FC back.

IMG_2464

3.  Set down a third FC and say what it is, have the kids repeat the FC back

IMG_2465

4.  Cover all your FCs with the scarf.  Wave your hands over the top like a magician and say ‘Hocus Pocus.’  Slip your hand under the scarf and pull out a card, but don’t let your audience see what it is.

IMG_2466

5.  Point to the empty spot and say what’s missing.

Whoever guesses the correct card wins!

Simple right? Yes, the kids know it’s not magic, some will even call you out. But, who cares? They have just learned 3 new words.  After you’ve done it a few times, you can get the kids to be the magician, they really like to play the role. Congratulations, you’ve just gotten your kids to talk – and that is the real magic!

For younger kids, we usually keep the number of cards to just a few (3 – 5 cards).  For older kids keep adding more cards:

IMG_2469

1. Put the missing FC back and add another FC, say what it is and have the kids repeat.

IMG_2470

2.  Add another FC, say what it is and have the kids repeat.

IMG_2471

3.  Add another FC, say what it is, have the kids repeat.  Point and repeat each FCname -either the kids will chant with you or they will repeat after you.

IMG_24654. Repeat Step 4 from above.  Keep adding FCs in the same way and see how many cards you can get up to.  It gets a bit difficult later on because cards start flying away when you pull off the scarf, but the kids will usually remember the order of the cards and want them put back exactly the same.

Playing the game like this is also a good way to make yourself feel old, you will be amazed at how much better the kids’ memories are compared to yours!  I try and figure out which card I pull away, but usually I have to check.

Sometimes we Muggles can pull off a magic trick, even if we didn’t get to go to Hogwarts!

Texture Collage

tree002It’s been a busy year so we’re a bit behind on our posts. We did this project back in October, when it was actually fall, but we’re only getting a chance to share it now. And here we go:

Frottage is such a fun way for kids to learn about textures.

1) First the kids had to learn the name of textures so, we created various textures inside very large bottle caps  (we used sand paper for rough, some plastic drawer liner for bumpy etc etc)  and used them in a game. We put 1 bottle cap at a time inside a bag and the kids had to feel to learn the name of each texture. (Later we created another set of bottle caps with matching textures so that the kids played a  blindfolded memory).

2)  Next, we gave the kids some crayons and some paper and they went crazy and did rubbings on everything and everyone! It’s such a simple exercise and the kids had so much fun doing it! When they were finished we analyzed the textures and gave them a name.

Untitled-23) Finally we began our project:

  • The kids did crayon rubbings again on bits of fall colored paper (except brown).  They had an idea of what worked and what made better textures this time around.
  • Next, tore the paper and  they glued them onto a larger paper to create a background. For this step, we said no scissors.
  • They did the same thing to make the trunk and branches of the tree, this time scissors could be used.
  • The next step was to cut the leaves out of  newspaper and glue that onto their tree
  • It was a bit hard to see the tree and leaves, so we also got in a little practice shading.  The kids had to outline the tree and leaves using colored pencils, shading darkest on the outside and getting lighter towards the center.  This was probably the hardest part.
  • The last step was to cut out the letters f-a-l-l- and sponge paint them on.

Among the games we did to learn textures was to do this word search.  Inside the circles the kids had to frottage textures – which didn’t work for all the textures.  I think if we to redo this we might just draw pictures of things with those textures.

Texture wordsearch

Santa Claus is Coming to Town

Christmas is a great time to learn some music and have fun learning to read and write.  Santa Claus is Coming to Town is great, because aside from it being fun, most of the language is pretty simple and easy to explain using pictures or miming.  This is also a great opportunity for the kids to get some reading and writing in since they already know the vocabulary.

We played Sentence Scramble and Dictation – 2 fun games that require movement and if played in teams, requires team work.

Santa Claus is Coming to Town dictationTo play Sentence Scramble:

  • print out a copy of the lyrics.
  • cut each sentence into strips and then cut (separate) each word
  • take 9 envelopes and label them 1 to 9 (use pens the same color as the sentences, that way if any of the words gets lost or mixed up, you know which envelope it goes into) and put 1 sentence in per envelope

Sentence Scramble requires 6 or less players or 6 or less teams.  Each team or player will need 1 pencil and 1 sheet of paper.  Place envelopes at the front of the room.

Object of the game:  to be the first person to unscramble all the sentences.

Rules when playing with individual players:  1. each player should run up and grab and envelope (not necessarily in numerical order) 2. write down the number on the envelope, open it and unscramble the sentence (if the kids have problems, I hum the song for them) 3. write the sentence correctly and then show the teacher 4. if the sentence is correct, he/she should put the sentence back into the envelope and grab another one and unscramble the next sentence.

Rules for playing in teams:  1. have teams sit together.  2. Assign a team member to be the runner and to be a writer.  3. On go, the runners run and get the envelope, the whole team works together to unscramble the sentence 4. the writer writes the sentence correctly and shows it to the teacher.  5. if the sentence is correct, the runner puts the sentence back into the envelope and a new runner and writer are assigned and the game goes on until all the envelopes are unscrambled.  The first team to unscramble all the sentences wins.

To play Dictation:

  • print a copy of the lyrics
  • cut each sentence into strips

Dictation is best played in 6 or fewer teams.  Each team will need 1 pencil and eraser and 1 sheet of paper.  Tape each sentence face down (or face up on a table, but in a way that the teams can’t see what is written).

Rules when playing with individual players:  1. each team is assigned a Writer and the rest of the team members are Runners (keep groups small or too many kids will be running around) 2. the Runners run up to a sentence, memorize it and how it is spelled, runs back to the writer and dictates the sentence.  3.The Writer writes down the sentence and the Runners must run back and forth making sure the sentence is correct, including spelling. 4. when a team is finished, the writer shows the sentence to a teacher, if the sentence is correct, someone else becomes the Writer and the game keeps going until all the sentences are written down.  The first team to correctly dictate and write down the sentences wins. The sentences should always stay at the front of the room and the pencils and papers should always stay with the writers (sometimes the kids try and cheat and bring these things together, but that really defeats the point of the game, doesn’t it 🙂

This game can also be played with individual players, each player must leave the sheet of paper at his/her desk. First he/she runs and memorize as much of a sentence as possible, runs back and writes it down.  Word order and spelling must be correct.

These two games can be played with more than just songs, you can create your own by using text from stories, when learning grammar or for just about anything you want.

A Christmas Tree Craft For Your Crafty Christmas Tree

IMG_2365Just in time for Christmas, another decoration for your tree – and you can recycle to boot!

4 pics1. Supplies:

  • recycled wrapping paper, newspapers or magazines cut into 1 cm x 5 cm strips
  • glue
  • scissors
  • 1/2 circle cut out of construction paper (about15 diameter)
  • yarn

optional:

  • yellow paper for a star
  • glitter

Step 2: Glue half circle into cone shape.  Squirt a line of glue along the bottom ridge and stick the strips of paper (decorated side down) onto the cone.

Step 3:  Once you have covered the whole bottom part of the cone with strips of paper, put another line of glue on the cone, just above the strips of paper.  Now, pull the strips of paper up and glue down (will form a loop shape).

Step 4: Keep on gluing the tiers of loops until you’ve covered the whole cone.

Step 5:  Tie a short length of yarn into a loop and poke the yarn out of the top of the tree.  (Make sure you tie a big enough knot so that the yarn doesn’t slip out).

Optional:

Step 6: Cut out 2 small stars, put some on some glue, sandwich the yarn and the tip of the tree between the 2 stars and glue closed.  This will help fix the yarn to the tree and keep it from slipping out.

Step 7: Add on your decorations.  We hole punched some sparkly craft foam and glued them on.  You could also put dots of  onto the ‘branches’ and sprinkle on some glitter.

You are finished -now you have a really cool tree to hang on your Christmas tree.

Jumping Clown

Per leggere questo in italiano, cliccate qui.

This week’s workshop was Circus Fun – so we made a Jumping Clown (also called a Jumping Jack).  The vocabulary for this project was body parts and to jump, so we sang the Hokey Pokey before getting started.  Here’s a cute and funny version of the song:

To make the clown here is what you will need:

  • clown template
  • construction paper
  • yarn
  • pencil
  • pens
  • glue
  • hole puncher
  • brads (aka paper fasteners) click on the link if you don’t know what they are
Step 1: Print off the body parts and cut them out.
Step 2: Trace template pieces onto construction paper.
Step 3: Cut out each piece.
Step 4: Decorate your clown’s close and draw a face
Step 5: Glue your clown’s hair on.

Step 6: Glue the hat to the clown’s head.  Glue the head to the clown’s body.

Step 7: Punch 2 holes  into the arms and legs as indicated on the template.  Punch holes on the clown’s body at shoulder and hip level.

Step 8:  Line the bottom hole an arm or leg with the corresponding hole in the body, insert a brad and open.  Do the same for all appendages.

Step 9: Thread a long piece of yarn through the top hole of each appendage and tie a knot at the bottom.

Step 10: Your clown is ready.  Pull on the string and watch him (or her) jump!