Tin Can Telephones

Old school toys are the best!  This is such a simple toy, but has lasted over the years because it is fun as well as fascinating AND it doesn’t take much to make them.

IMG_2606     Supplies:

  • 2 empty and cleaned cans
  • string
  • paper (wrapping paper, old magazines, newspapers etc)
  • glue
  • paintbrush
  • nail/hammer

IMG_2523
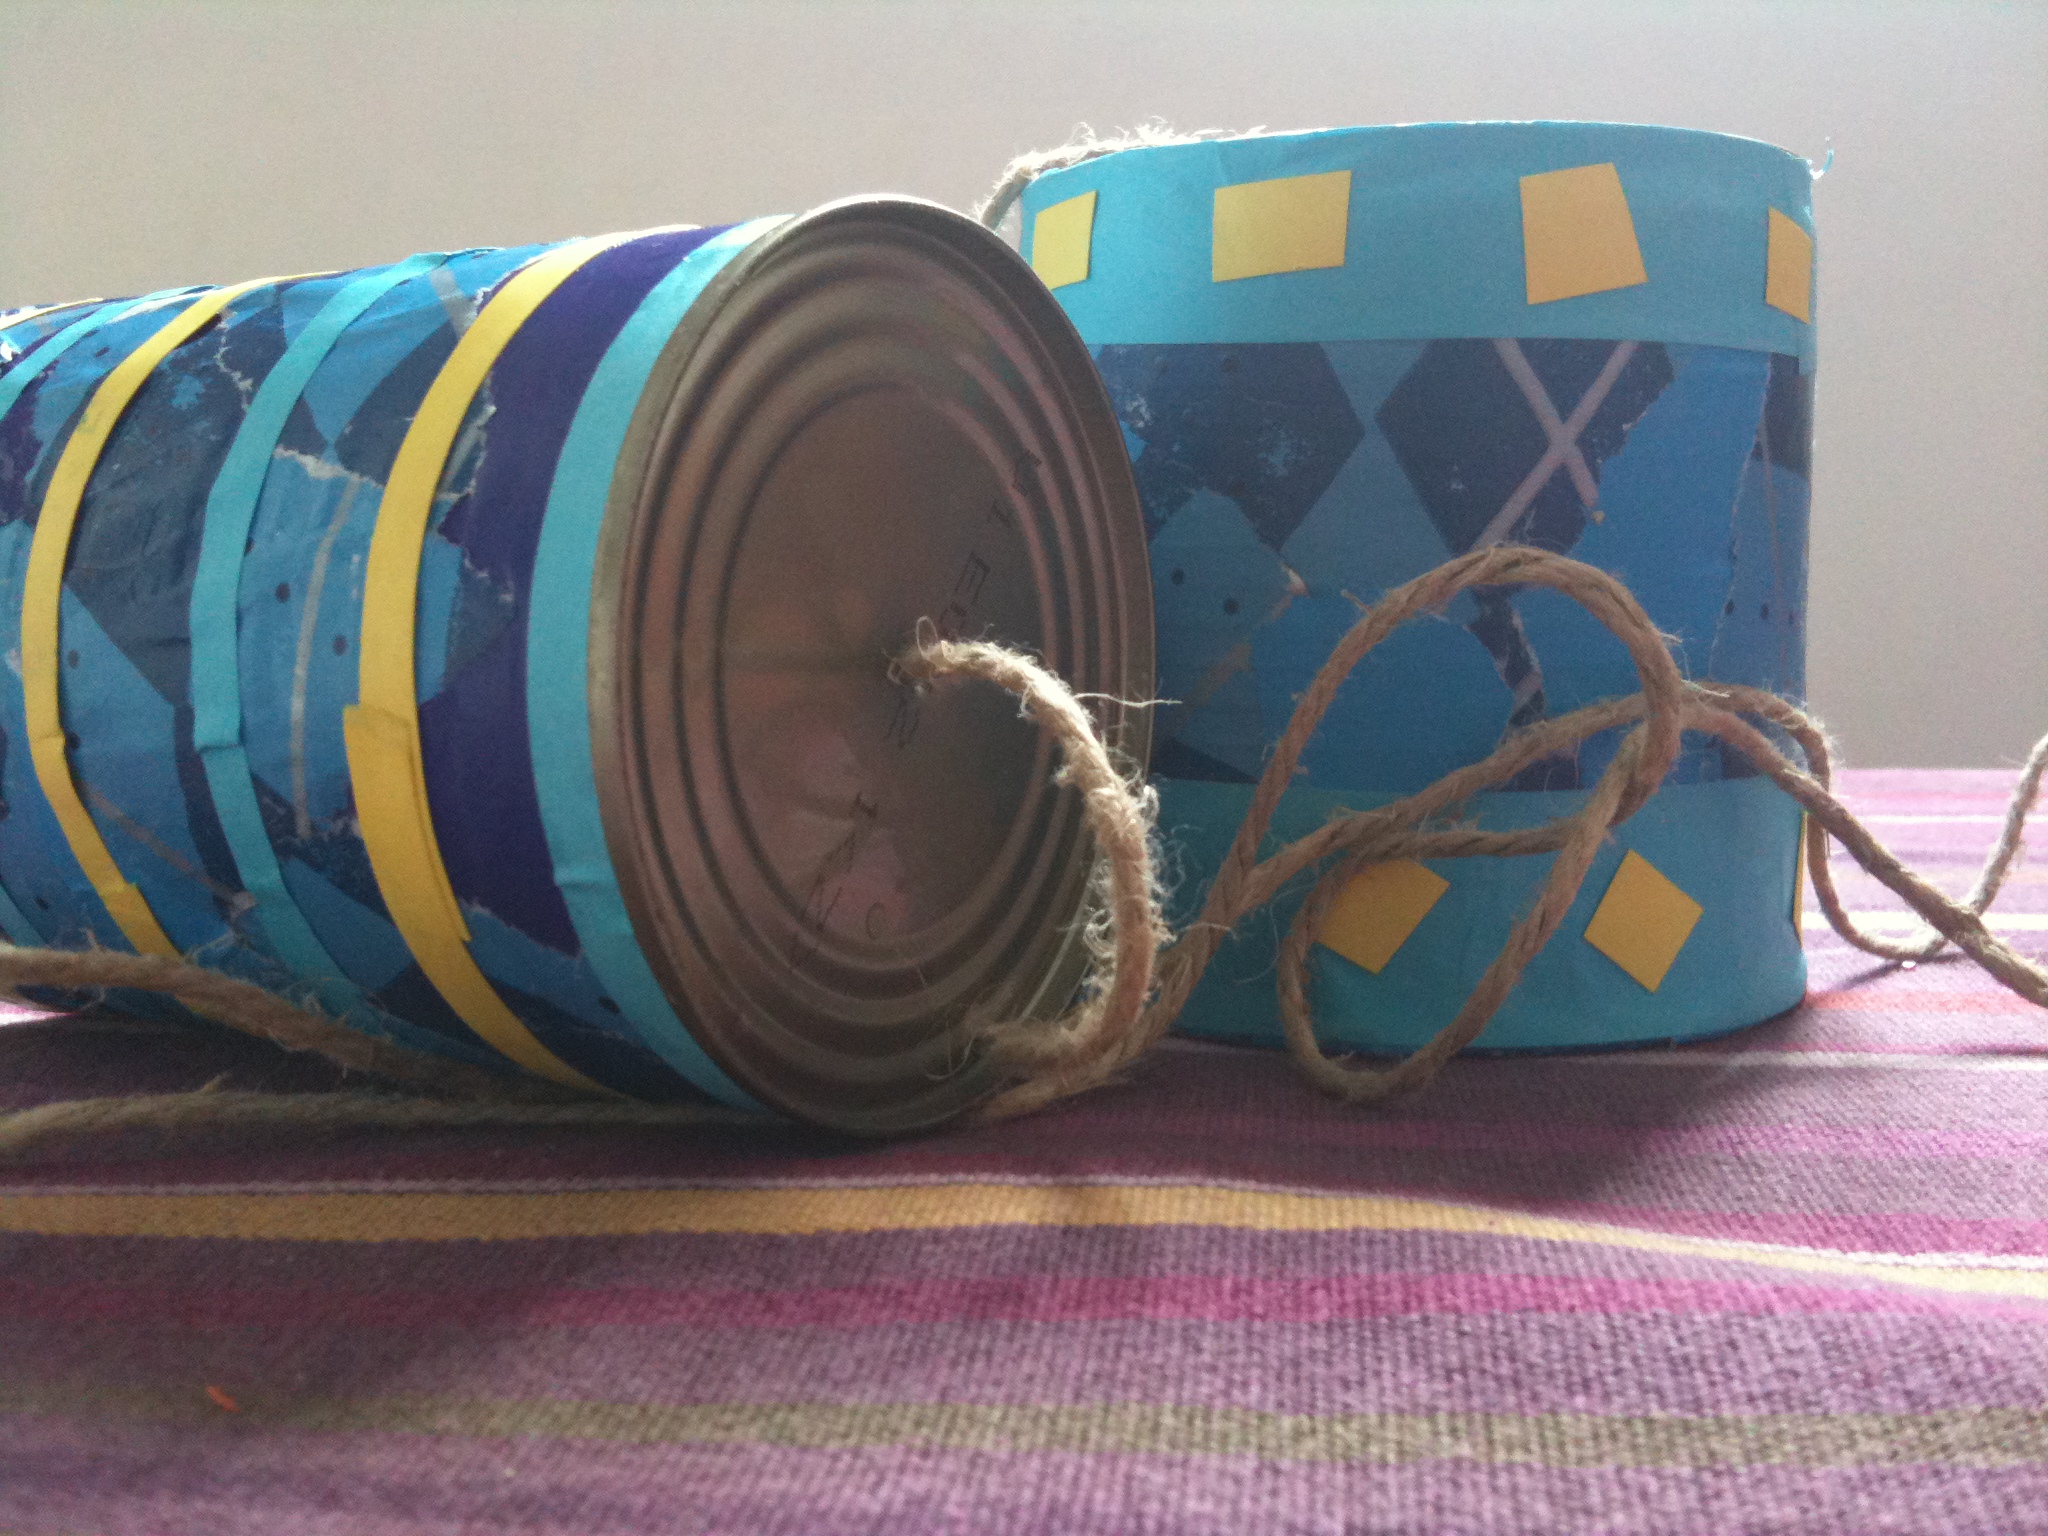
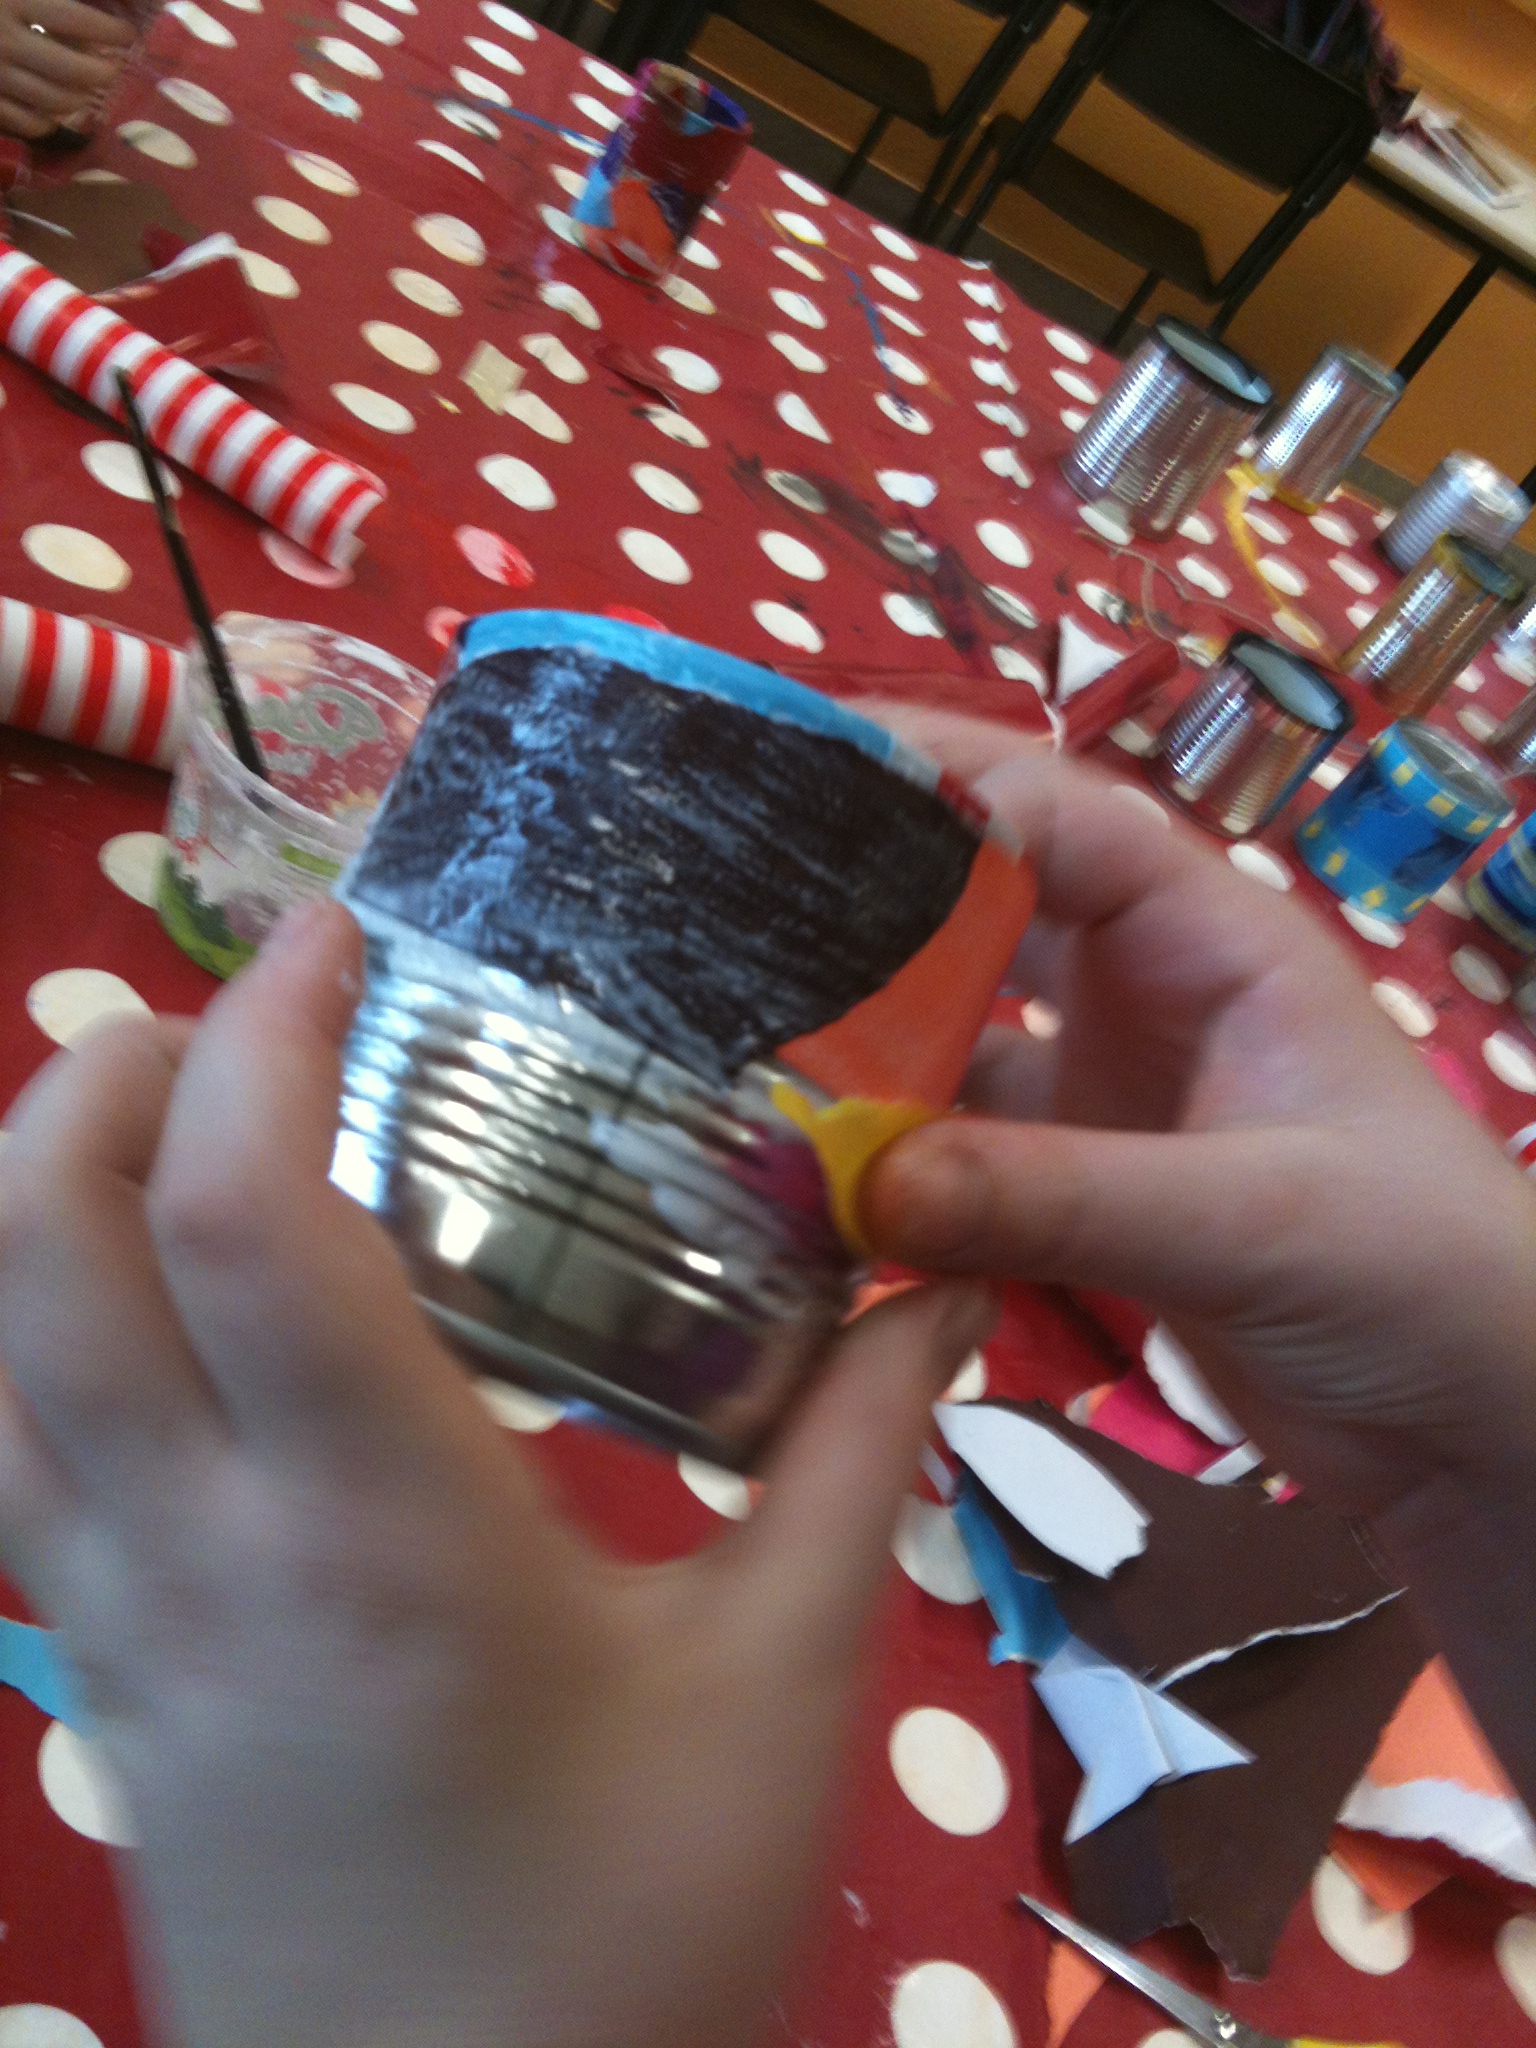
Turn the can open side down and begin to decoupage by tearing a small piece of paper and glue it onto the can.  Keep on going until you get almost to the bottom.  Flip the can over and finish covering it, be sure to cover the lip of the can and a bit of the inside that that all sharp and dangerous edges are covered over.  (This will probably require adult supervision, especially if the can has many sharp parts that stick out).   Do the same for the other can.

IMG_2603

When the cans are dry, take a nail and hammer 1 hole into the bottom of each can.  (This will require adult supervision).  Cut a piece of string into the desired length, thread each end through the hole in the can (from the outside to the inside) and tie a knot at each end. (You can experiment with this to discover what works better or how long of a string you can use and still hear your friend).  Now you are ready to talk!

IMG_2534

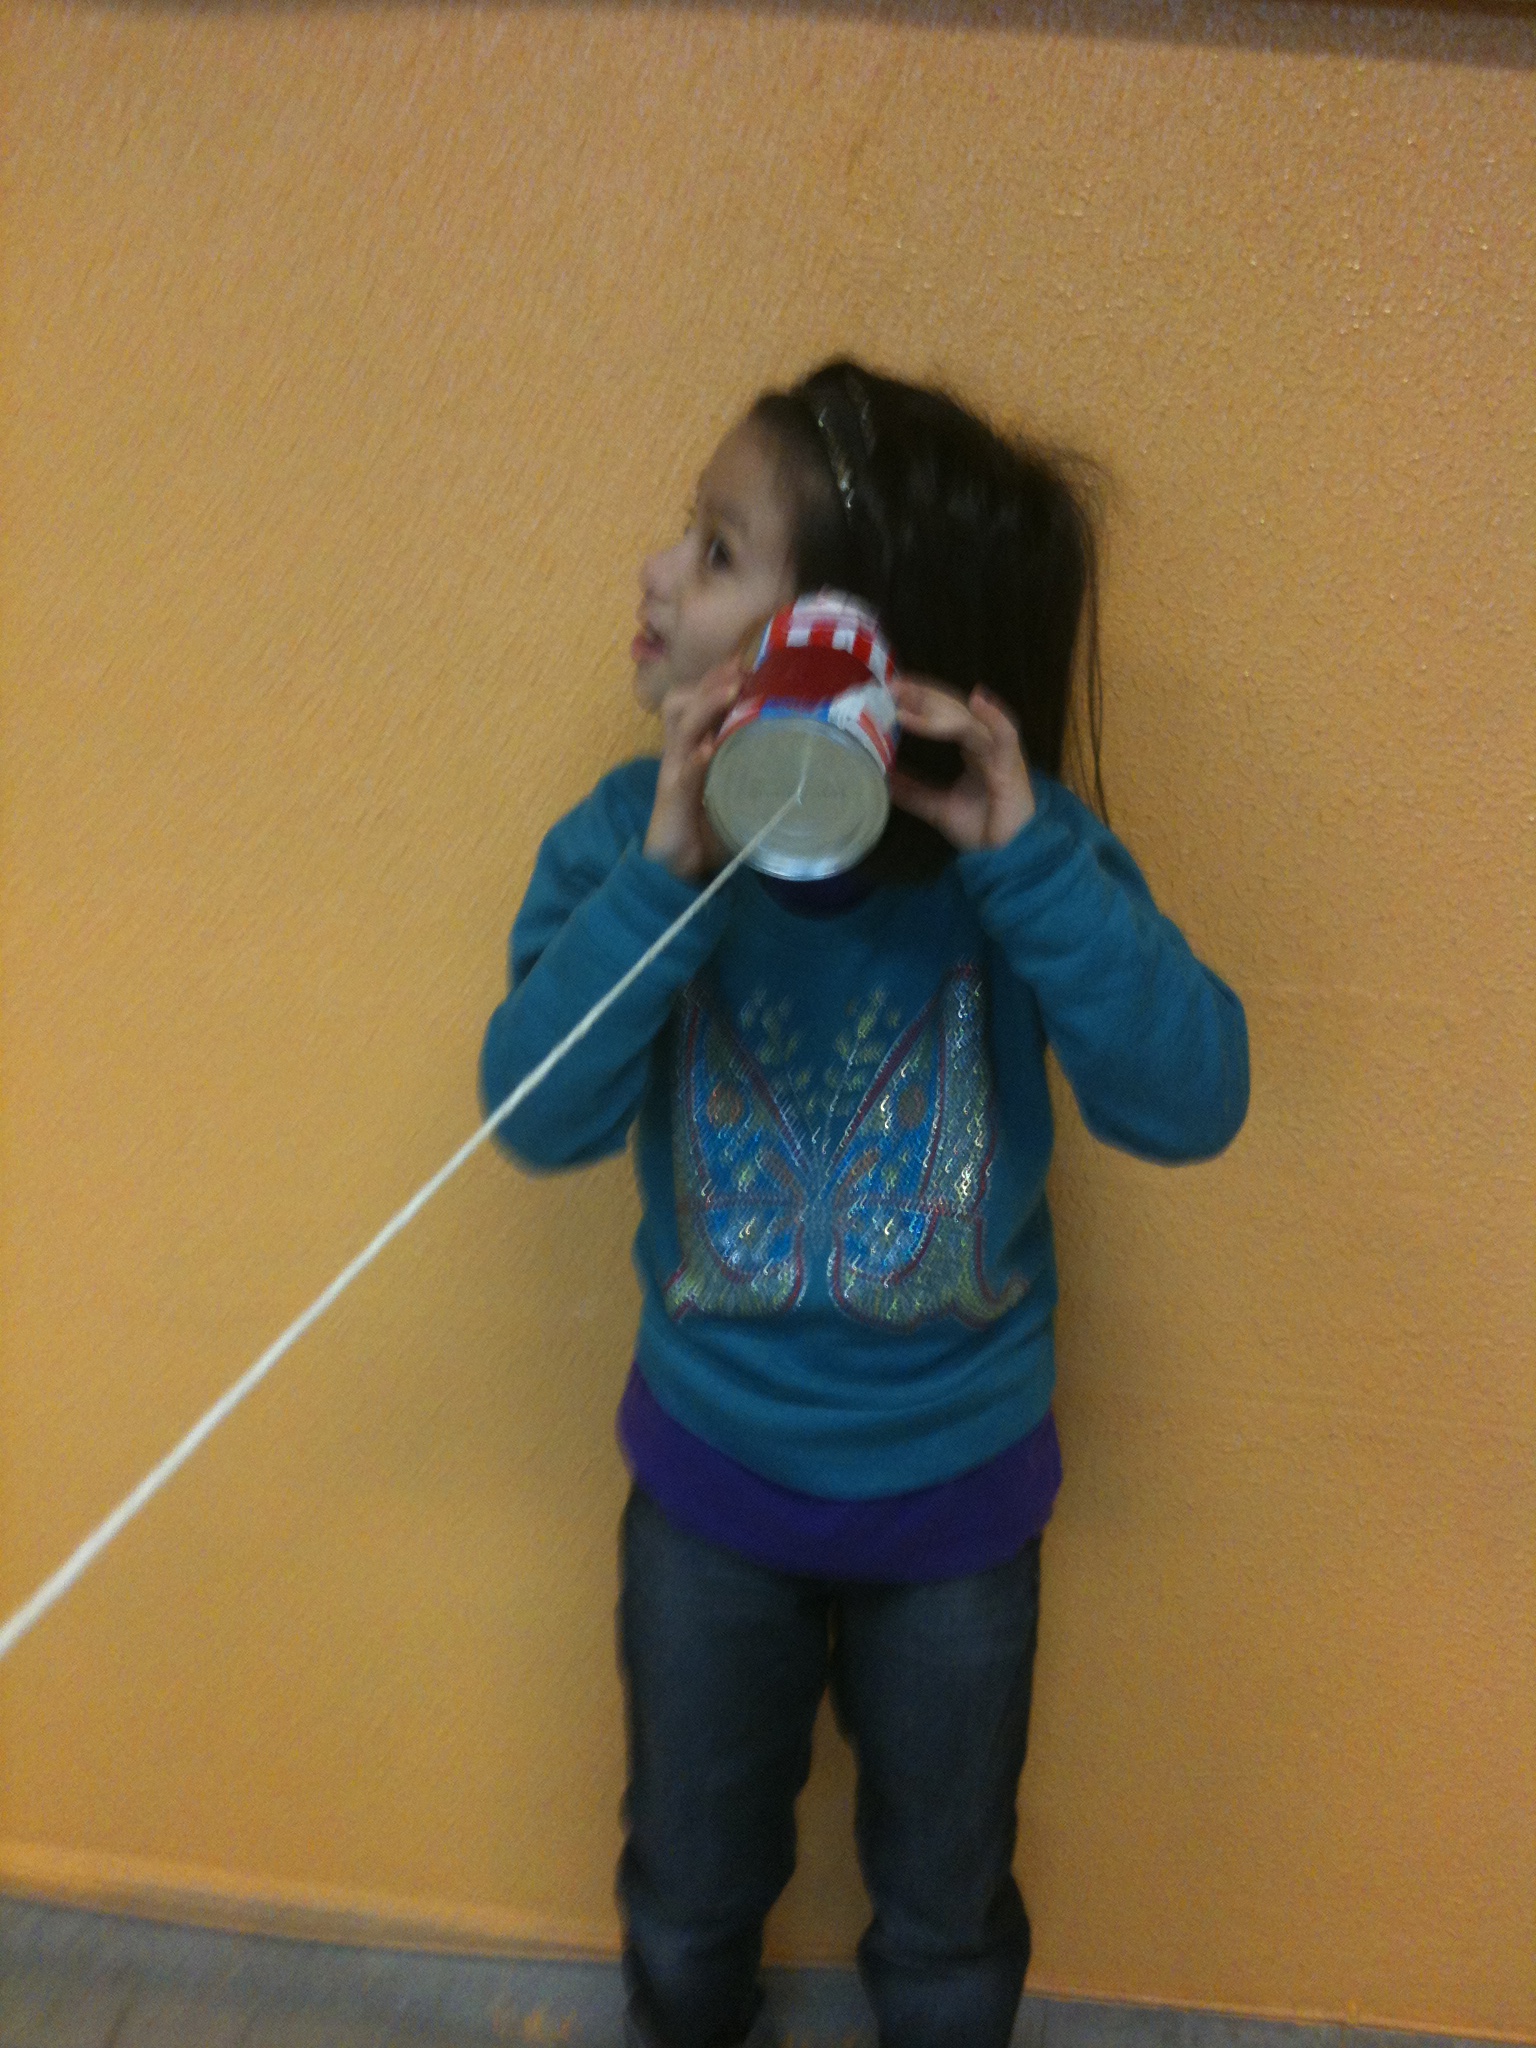
Make sure the string is a bit taught or the sound vibrations won’t travel along the and you won’t be able to hear the other person. We told the kids that the phones only worked if they spoke in English – you can trick the younger kids by having them speak in their mother tongue while the line is slack and then speak in English when the line is taut :o)


Masketeers

IMG_2570

It’s Carnival Time! Instead of making a whole mask, the kids gigantic face parts – and it really brought out the silly in them.

You don’t need too many supplies:

  • cardboard
  • tempera paint
  • glue
  • scissors
  • wooden skewers

IMG_2555To make the masks just draw out a body part, cut and paint. When the paint is dry, glue the skewer onto the back and…wahlah you are done.

IMG_2553

A Christmas Tree Craft For Your Crafty Christmas Tree

IMG_2365Just in time for Christmas, another decoration for your tree – and you can recycle to boot!

4 pics1. Supplies:

  • recycled wrapping paper, newspapers or magazines cut into 1 cm x 5 cm strips
  • glue
  • scissors
  • 1/2 circle cut out of construction paper (about15 diameter)
  • yarn

optional:

  • yellow paper for a star
  • glitter

Step 2: Glue half circle into cone shape.  Squirt a line of glue along the bottom ridge and stick the strips of paper (decorated side down) onto the cone.

Step 3:  Once you have covered the whole bottom part of the cone with strips of paper, put another line of glue on the cone, just above the strips of paper.  Now, pull the strips of paper up and glue down (will form a loop shape).

Step 4: Keep on gluing the tiers of loops until you’ve covered the whole cone.

Step 5:  Tie a short length of yarn into a loop and poke the yarn out of the top of the tree.  (Make sure you tie a big enough knot so that the yarn doesn’t slip out).

Optional:

Step 6: Cut out 2 small stars, put some on some glue, sandwich the yarn and the tip of the tree between the 2 stars and glue closed.  This will help fix the yarn to the tree and keep it from slipping out.

Step 7: Add on your decorations.  We hole punched some sparkly craft foam and glued them on.  You could also put dots of  onto the ‘branches’ and sprinkle on some glitter.

You are finished -now you have a really cool tree to hang on your Christmas tree.

10 Fat Turkeys and a Craft

Per leggere questo post in italiano cliccate qui.

This workshop was all about Thanksgiving, so we read 10 Fat Turkeys, a silly story just right for the occasion.  It’s a great ESL book – it’s simple, there is some counting and some rhyming and it’s just great all around fun.   And, what better craft to do than a gobble gobble wibble wobbling turkey:

Supplies:

  • construction paper
  • an empty thread spool (we didn’t have any- ours is jimmy-rigged, you can read the explanation lat the bottom)
  • a straw
  • paperclip
  • 2 rubber bands
  • goggly eyes
  • tape
  • colored pens

Here’s what you do:

Step 1: Trace your hand onto the construction paper.

Step 2:  Color and decorate your hand like a turkey (don’t forget the beak and the red wobbly thing on the nose).

Step 3:  Cut out your turkey (make sure that the bottom part of the turkey is flat) and glue on the googly eyes

Now comes the hard part:

Step 4:    Cut a piece of straw about 2.5cm longer than the spool. Put the paper clip onto one of the rubber bands and thread the rubber band into the straw (you may need a skewer or toothpick to help you do this).

Step 5:  Thread the straw/rubber band/ paperclip through the spool. Push through until the end of the straw with the paperclip is flush with the spool.

** MacGyver’d spool: we didn’t have any spools, so we used an awl to punch holes into milk bottle caps.  We took old paper towel rolls and cut them about the size of spools and glued the caps onto each end. Tadah -our makeshift spools.**

Step 6:  Secure the paperclip to the spool with a piece of tape.

Step 7:  Punch a hole into the FRONT of the turkey and slide it onto the straw/spool contraption.  Cut another piece of straw about 5cm long and through the rubber band.

Step 8:  Wind it up and watch your turkey wobble.

Thanks to Heather Swain Books for this fab idea!

How to Make a Super Catcher


Per leggere questo post in italiano, cliccate qui.

Our latest arts & crafts activity is a very simple toy that children all over the world have known and have loved for ages. It’s know by many different names, but the fun is always the same…we call it the Super Catcher!

Supplies:

  • 1 plastic water bottle
  • a few pages from a newspaper or magazine
  • decorative tape and stickers
  • electrical tape
  • 2 or 3 different colors of string about 50 cm long

Step 1: Cut the bottle in half and keep the part with the opening (this should be done by an adult).

Step 2: Cover the edge with the decorative tape (so that it won’t cut you) and decorate the bottle with more tape and stickers.

Step 3: Crumple up the newspaper or magazine pages into a small ball. Make sure you squish it tightly and then cover the ball with the electrical tape (it’s pretty elastic and will help maintain the ball shape).

Step 4: Take the string and tie it around the ball. Use some more electrical tape to fix it to the ball. Tie a double knot around the neck of the bottle to attach it.

..and now you are ready to play! Hold on to the neck of the bottle and try to catch the ball inside your Super Catcher! How many times can you make it in?

How to Make a Catapult Game

Per leggere questo post in italiano, cliccate qui.

There is something so fun about flinging things in a catapult. Did you know you could use them to learn English too?  We’ve turned ours into a counting game and here’s how:

Step 1:  Gather your supplies:

  • 5-8 popsicles sticks
  • 4 rubber bands
  • a cap from a plastic bottle
  • acorns
  • a cardboard egg carton
  • pens
  • tempera paints
  • small pieces of paper (we used a large hole punch to cut out circles, but squares, triangles, dodecahedrons, etc will work fine)

Step 2: Paint each of the holders a different color.

Step 3: Write numbers 1 – 9 on small scraps of paper.  (This number depends on how many places for eggs your carton has).  Once the tempera is dry, place the numbers inside each of the holes.

Step 4:  Decorate your acorns.

Now to make your catapult.  There are a million ways to make a catapult, we combined a few ideas to make an easy to follow idea using this we had around the house.  Here’s how we did it:

Step 5:  Stack 2 popsicle sticks one on top of the other and bind at one end with a rubber band (let’s call this Stack A).  Make another stack of 2-4 popsicle sticks and bind both ends with rubber bands (let’s call this Stack B).  Make sure the rubber bands are wrapped fairly tight so that the sticks don’t slip.

Step 6:  Open Stack A and slide Stack B in between the two sticks.

Step 7:  Use another rubber band to bind the two stacks together, making an ‘x’ where the two stack intersect.  Glue the cap on.

Step 8:  Put an acorn into your catapult and have fun playing your game!

Challenge – if you are already pretty good at saying your numbers, you could make this into a math game and start adding up your points!

Make a Kite Workshop

Here’s how to make a very simple kite, that requires things you probably have around the house.  Here’s what you will need:

  • 81/2 x 11 or A4 paper
  • crepe paper
  • glue stick
  • tape
  • pens
  • hole punch
  • scissors
  • heavy thread
  • long skewer
  • wire cutters (optional)

Step 1: Fold the paper in half.

Step 2: With the fold side down, make a crease as indicated by the dotted line. Fold back and forth a few times so the flap will stand up straight when you fly the kite.

Step 3: Cut the crepe paper into a few strips and place into the center (of the back end of) the paper,  Glue the center of the kite closed, fixing the tails. Use the wire cutters to cut the skewer to the same length as the paper.  Fix to the kite with tape as indicated.

Step 4: After you have decorated your kite, flip it over and use the hole punch to make a hole about 1/3 of the way from the nose of the kite. (We put a little bit of decorated tape on first to reinforce the paper a little bit). Attach the string and fix with a knot.

You are ready to fly your kite!

The kids had lots of fun making their kites:

Hope you have fun making and flying yours!

Ocean In A Bottle Workshop

Per leggere questo post in italiano, cliccate qui.

This was the last workshop of the year and it was a fun one!   We made a jellyfish and put it into a bottle, so we can take the ocean with us where ever we go!

Supplies:

  • a transparent or translucent plastic bag (We noticed some bags work better than others, if they are too thin, the jelly doesn’t float as well.  Some types of plastics have a lot of static and bubbles stick to it. You may have to experiment a bit)
  • a transparent bottle with a wide mouth (the longer the bottle, the better the jelly ‘swims’ to the top)
  • thread
  • food coloring

Fold your jellyfish into a ‘ghost’ like shape and loosely tie a head  (leave a small opening because you’ll will fill the head with water later on).

Keeping the head at the top, spread out the bag and then cut from the corner to the neck. You should have 4 ‘triangles.’ Cut cut from the edges to the neck to make 8 ‘triangles.’  Cut off every other triangle, you should have 4 triangles.

Now, cut out very skinny strips for the tentacles.

You should make about 3 or 4 legs per segment, which means that you will still have to cut away some more of the excess bag.  Trim the tentacles so they will be of different lengths.

Fill the bottle about 1/2 way with water.Fill the head part way with water (you will need to leave some room for air so the jellyfish will float up).  Carefully insert the jelly into the bottle and top the bottle off with water. **

Add in food coloring and close your bottle tightly.

Turn your bottle upside down over and over again and watch your jellyfish float to the top.  It’s absolutely mesmerize.

We found this great craft on BhoomPlay on how to make a jellyfish in a bottle.

*  If you’re jellyfish is not floating to the top too well, try pulling him (or her) out of the bottle and blow a little bit of air into the head.  If you have a lot of air, the jellyfish will float to the top quickly.  If you have too little or no air, the jellyfish will float slowly or not at all.   If you find a the right ratio of air to water, you jelly will float and will full everyone into thinking he (or she) is real!