It’s a challenge to teach phonetics here (well I am sure everywhere, but I only have experience here), because the kids don’t usually have a large enough vocabulary before they start reading and writing in English. Kids usually learn to spell by memorization. I really wanted to create a game where kids could start listening/pronouncing to see if they could distinguish short letter sounds-so they could start to learn to spell phonetically, just as they learn to spell in Italian. There are a few words that the kids would know (at least according to Italian curriculum) and a few new ones. This way they wouldn’t have to learn a whole new vocabulary, but couldn’t depend on the fact that they knew how to spell some of the words already. We’ve used the cards to play a few different games, so far it’s been a good challenge. For all the games you will need to print off 1 copy each of card, laminate and cut out. I’m including what each card is, because although I thought it was clear, the kids pointed out certain cards could have more than one name. (The little stinkers don’t let me get away with anything :o)
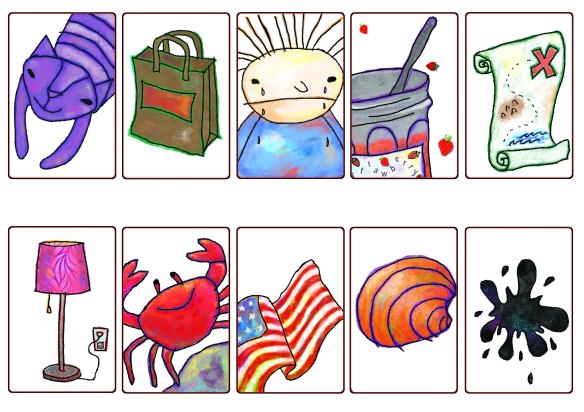
cat, bag, sad, jam map, lamp, crab, flag, clam, black
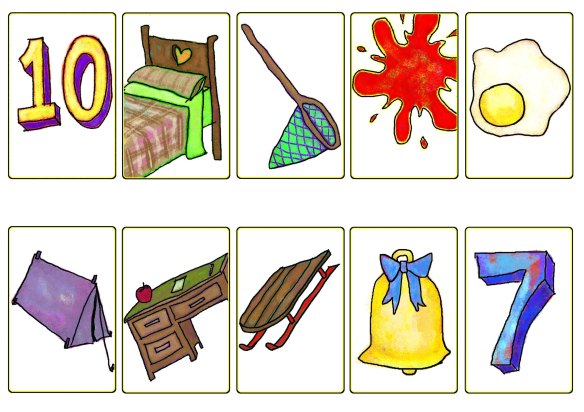
ten, bed, net, red, egg, tent, desk, sled, bell, seven
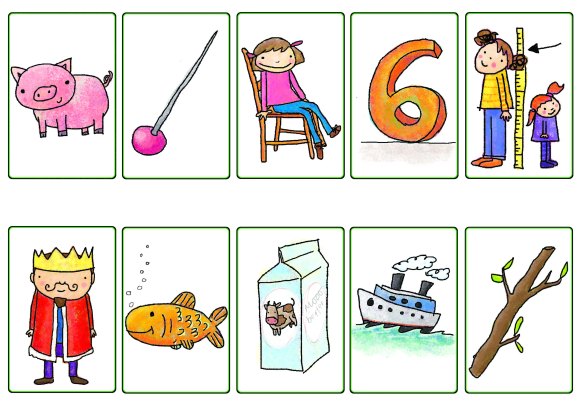
pig, pin, sit, six, big, king, fish, milk, ship, stick
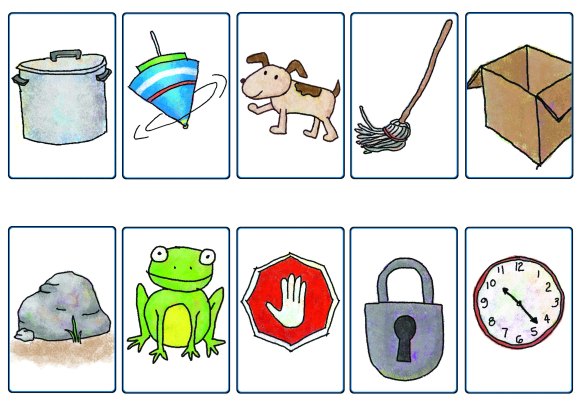
pot, top, dog, mop, box, rock, frog, stop, lock, clock
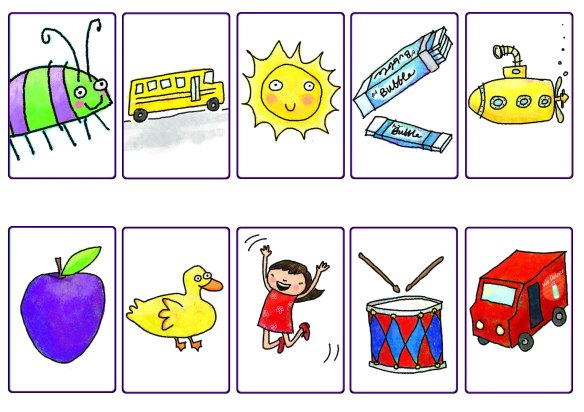
bug, bus, sun, gum, sub, plum, duck, jump, drum, truck
Here are the games we played:
What’s Missing
Single Sound Slam – This is a good game if you are just working on 1 sound, for example short a. You will need a ball or a bell. Place the bell in the center of the table. Take 1 short a card out of the deck and place it face up. The teacher flips one card over, if the sound matches the face up card (in this case short a), the first kid to grab the bell wins a point. If the bell is grabbed and the sounds don’t match, the student gets a point taken away.
Sound Slam – Pull out 1 card from each sound and place them face up on the table. All the kids sit facing the teacher. The teacher flips 1 card and the first kid to slam her hand onto the cards with matching sound wins a point. If the wrong card is slammed, a point is lost.
Memory, with a Twist – when I told the kids we were going to play Memory, they all said, ‘But, the cards don’t match!’ And they were right! The game is played just like regular memory, but instead of finding matching pictures, the kids find matching short vowel (or middle) sounds.
Written Memory: If the kids already know how to write, take out all the cards of one sound. Give the kids a few minutes to memorize all the cards. Take the all the cards away and then have the kids write down as many cards as they remember. I never tell the kids that the cards are spelled with the same vowel, it’s amazing that they figure it out and make fewer spelling mistakes. It seems too easy, but I think it’s okay because the challenge is to remember the cards, not struggle with how to spell. Plus, spelling in English is so difficult for kids, sometimes it’s good to play an easy spelling game, where they can feel proud and not easily discouraged. The game can also be played by mixing up the cards, but it’s much more of a challenge because the kids usually remember fewer cards and struggle with the spelling a bit more.
Complicated to explain, but not so complicated to play:
Flip Flop – this is a good small group game. Prep: you will need the cards, plus a bell or a horn or a small ball to put in the center of the table. Each player is dealt a card, until all the cards are dealt out, each player should have the same number of cards. (There are 50 cards, so this only works properly if you can divide the number of players into 50. If you have 3, 4, 6 or 8 players, you will have to take out 2 cards (of the same sound)- that way there will be 48 cards. If you have 7 players, you will either have to take out 8 cards, so that there will be 42 cards in the deck or take out 1 and there will be 1 card that won’t have a match. That said – here is how to play: each player places their stack of cards in front of themselves face down. One at a time players flip a card face up, (making sure to flip the card towards the group and not towards himself, so that everyone can see). When there are 2 cards of the same sound face up, the first player to grab the bell in the center of the table says the matching cards/sounds and wins those 2 cards. Attention, if that reveals 2 more cards with the same sound, the bell can be grabbed again. Once everyone has flipped over 1 card, the round begins again with each player flipping another card face up and stacking it on top of his previous face up card. (Each player should have two stacks of cards, one face down and one face up). When all the cards are exhausted, each player gathers his stack of face up cards and play begins again.
For all the games: make sure you and the kids stretch out the vowel sounds so the kids can hear them better.
If you have any other ideas of how to use these cards write us about it, we’d love to hear what you have to say. Here is a special challenge: you may have noticed that each set of cards has 5 three letter words, 3 four letter words and 2 five letter words- there is some sort of Scrabble game just waiting to be invented!).
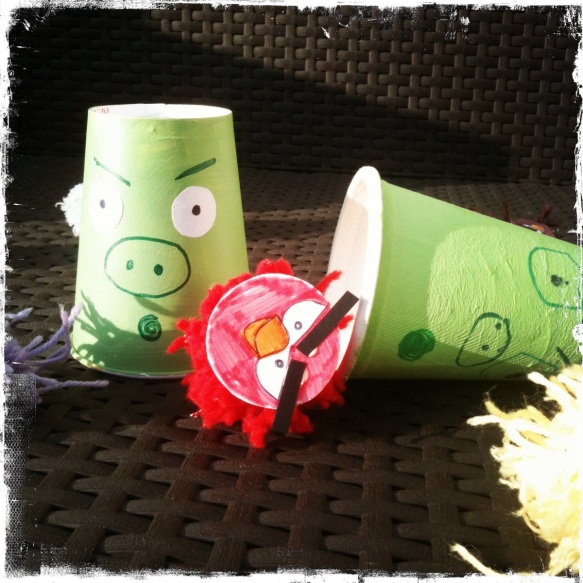
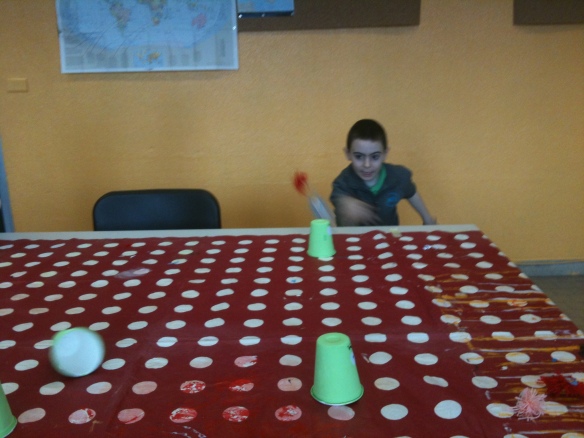
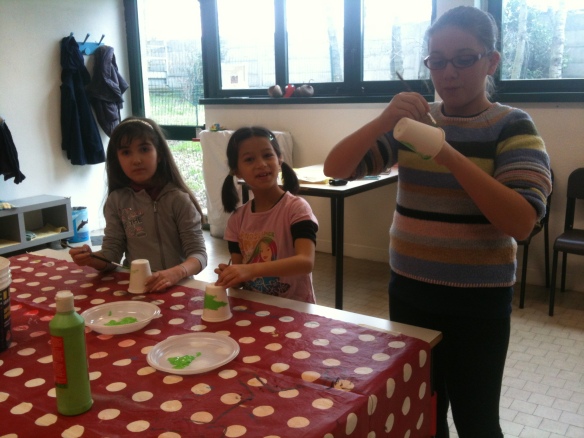 1) The first thing you will need to do is to paint your cups green.
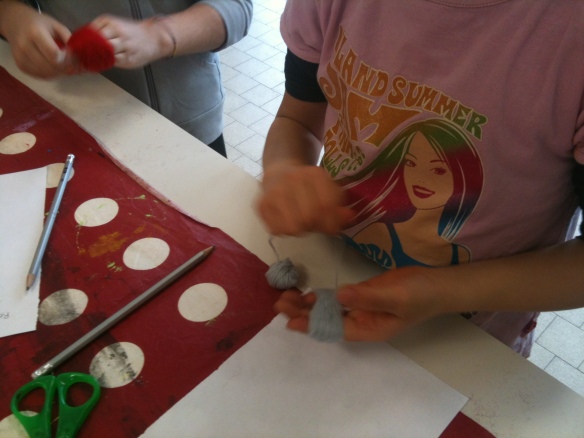 2) While the paint is drying, start making your birds. Wrap the yarn around your four fingers (use your thumb to hold the end of the yarn when you start). You will need to wrap several times – for the really thin yarn we went anywhere from 75 to 100 times, with the thicker yarn we wrapped about 30 times. This was a good fine motor skill and a great way to get the kids counting.
