
Father’s Day Workshop
Image
Reply

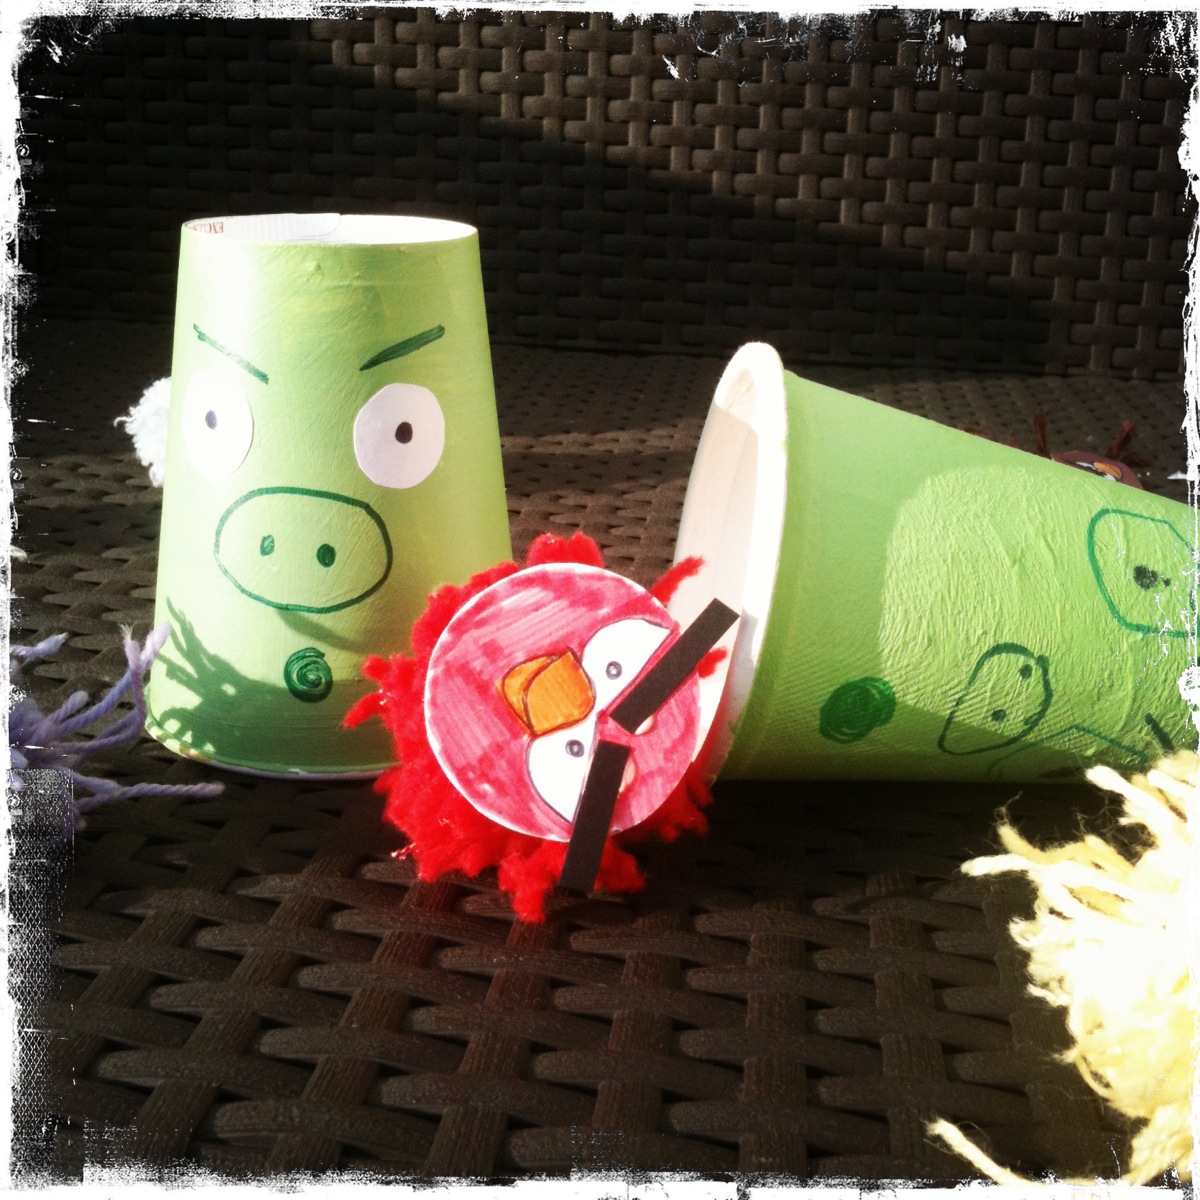
Angry Birds is a fun – but the downside is only one person can play at a time and if your mom says no more electronic devices, well then -you can’t play at all! We have just the solution for these types of situations – it’s Analog Angry Birds – all the fun and no electricity! In fact, we don’t know if the kids had more fun making the game or playing it!
Here’s what you will need:
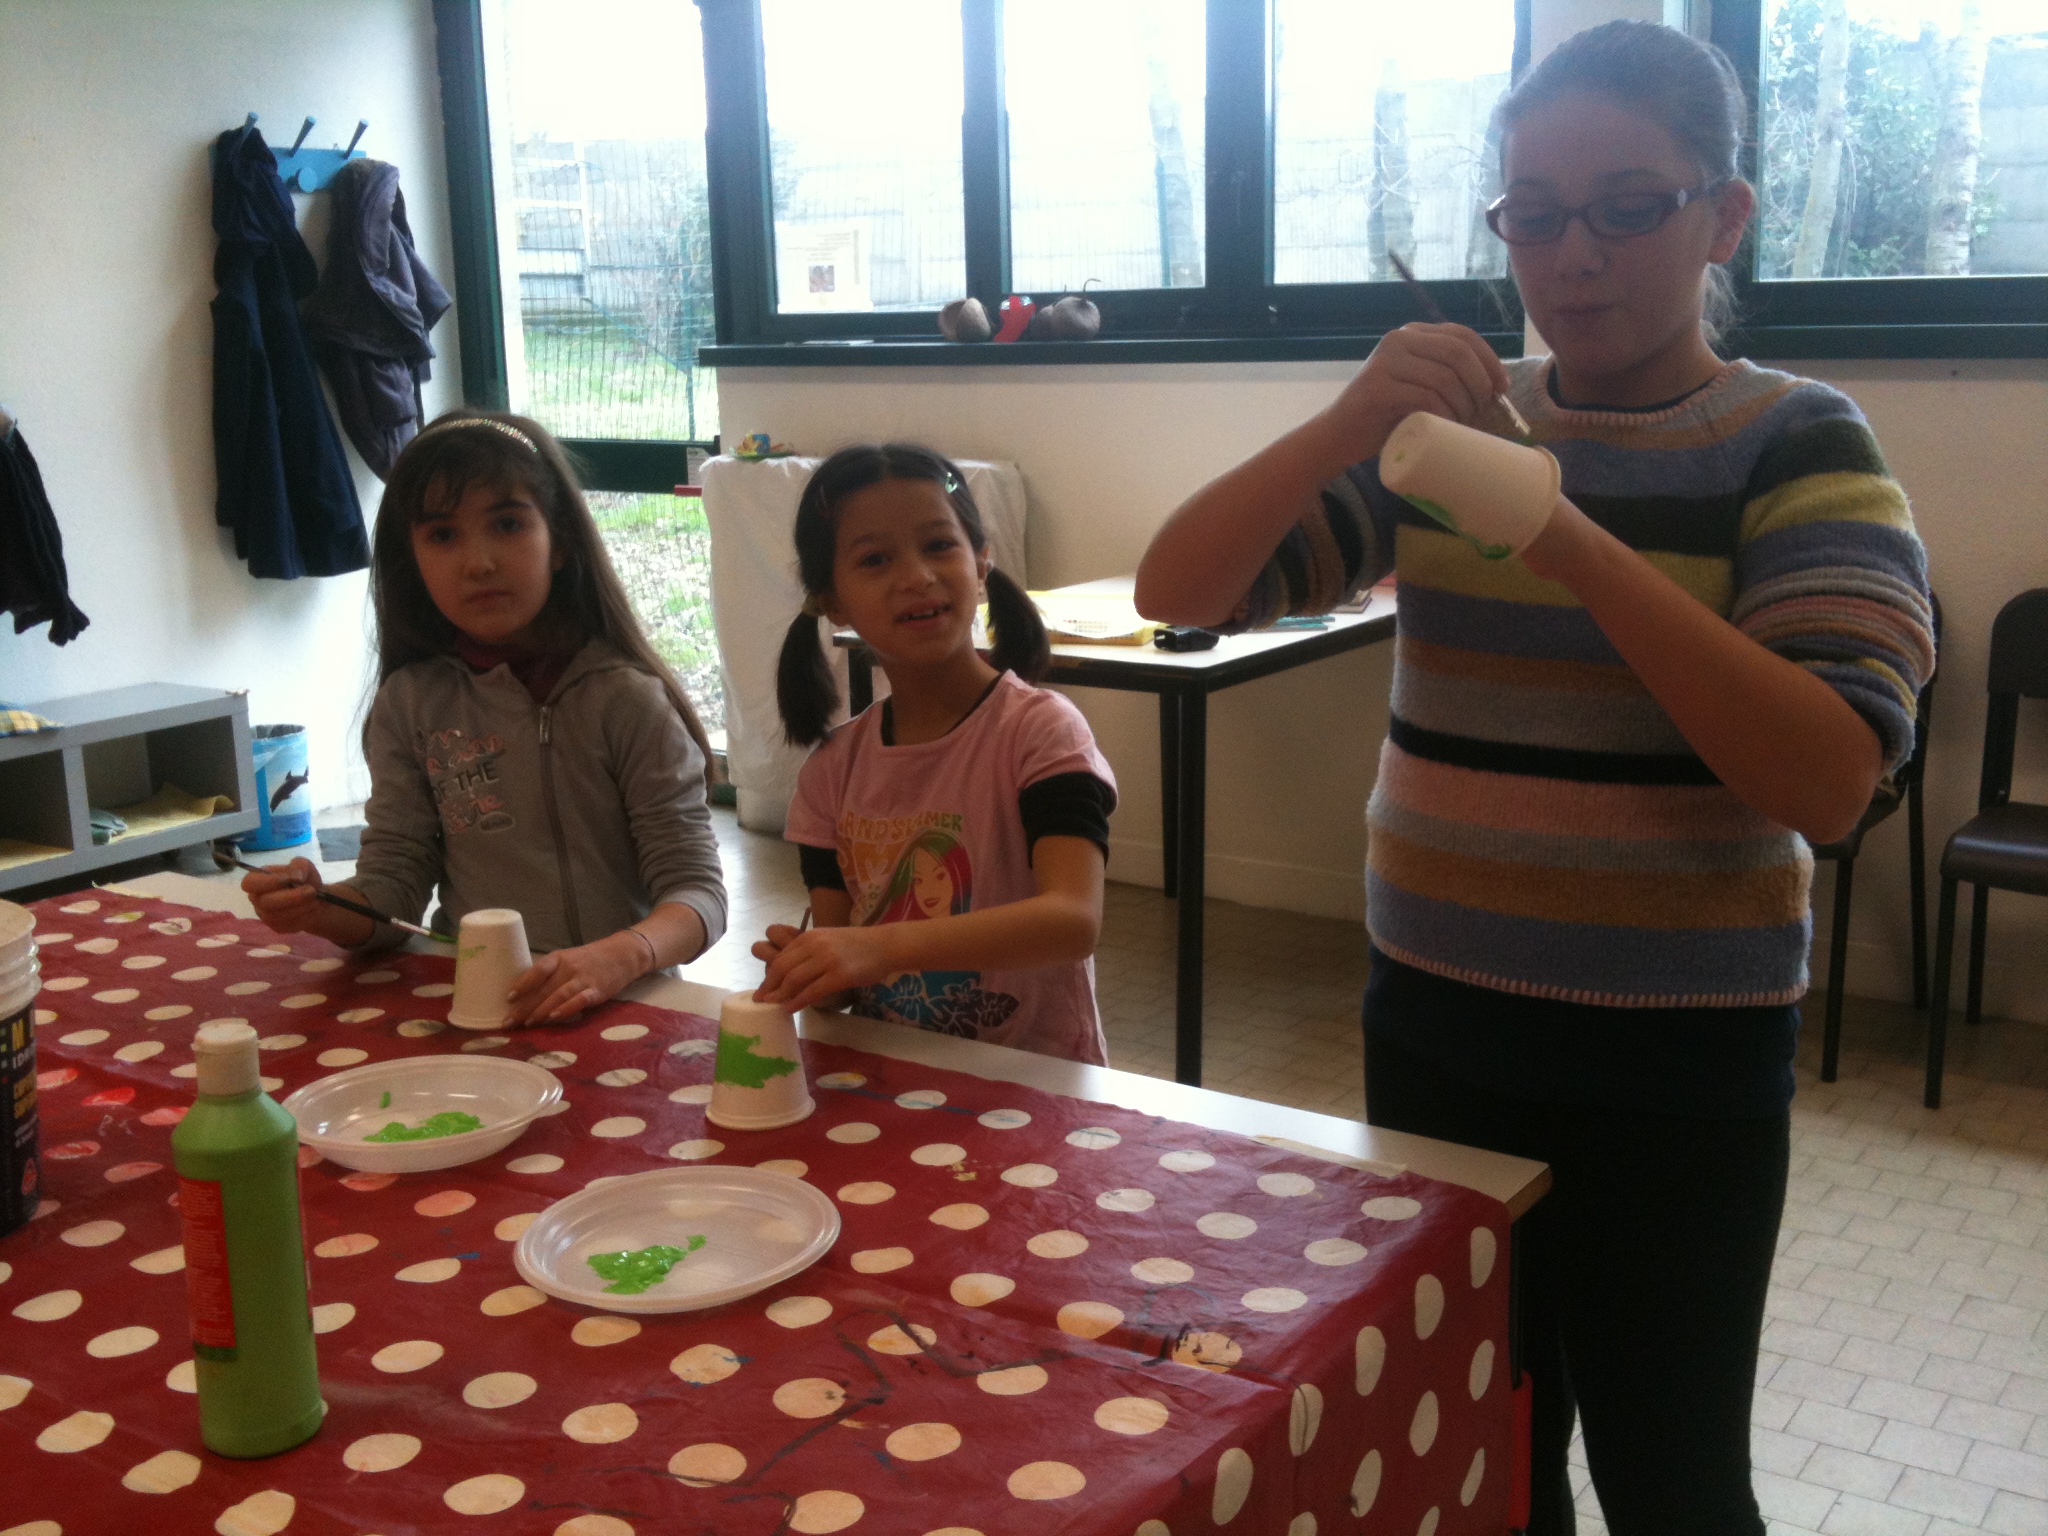 1) The first thing you will need to do is to paint your cups green.
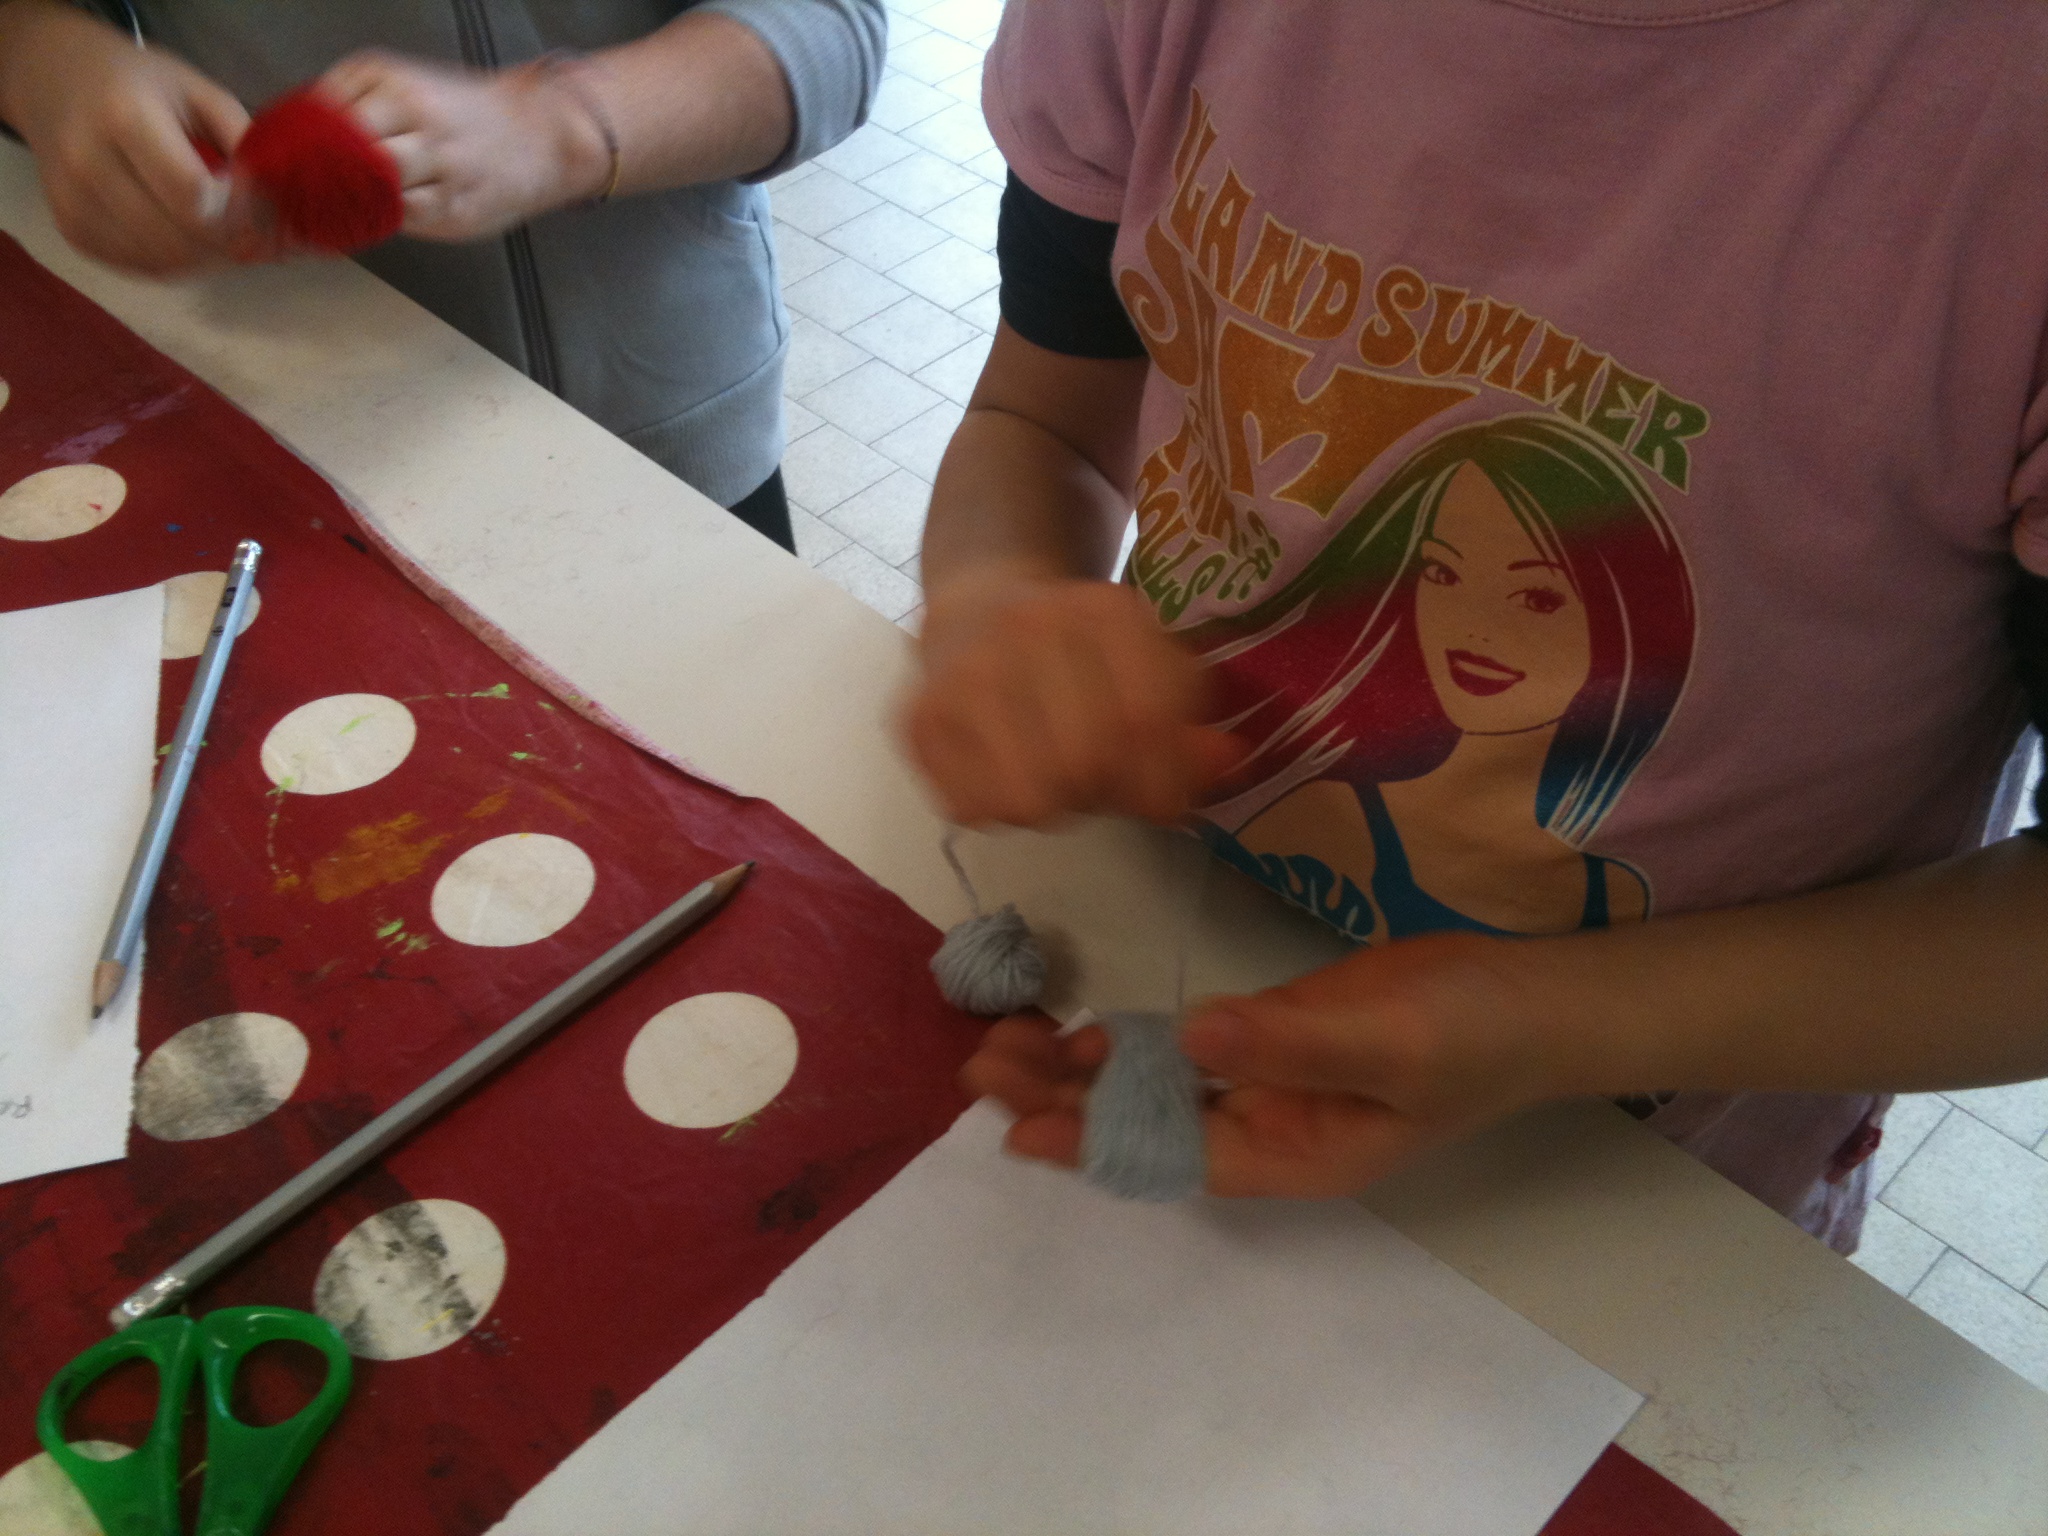 2) While the paint is drying, start making your birds. Wrap the yarn around your four fingers (use your thumb to hold the end of the yarn when you start). You will need to wrap several times – for the really thin yarn we went anywhere from 75 to 100 times, with the thicker yarn we wrapped about 30 times. This was a good fine motor skill and a great way to get the kids counting.
Once you are finished wrapping, cut off the end and slide the yarn off your hand. Tie another small strand of yarn around the center to hold the pompom together. Cut each loop and then roll the pompom around in your hand to fluff it up a bit.
3) Use the milk bottle top to trace a circle and then draw your Angry Bird’s face (we know what you are thinking – “hey, this could be a great lesson to do emotions”- good idea! we thought so too! you can make some happy, sad, silly etc). Glue the face onto your pompom.
4) Once your cup is dry, draw on a pig’s face.
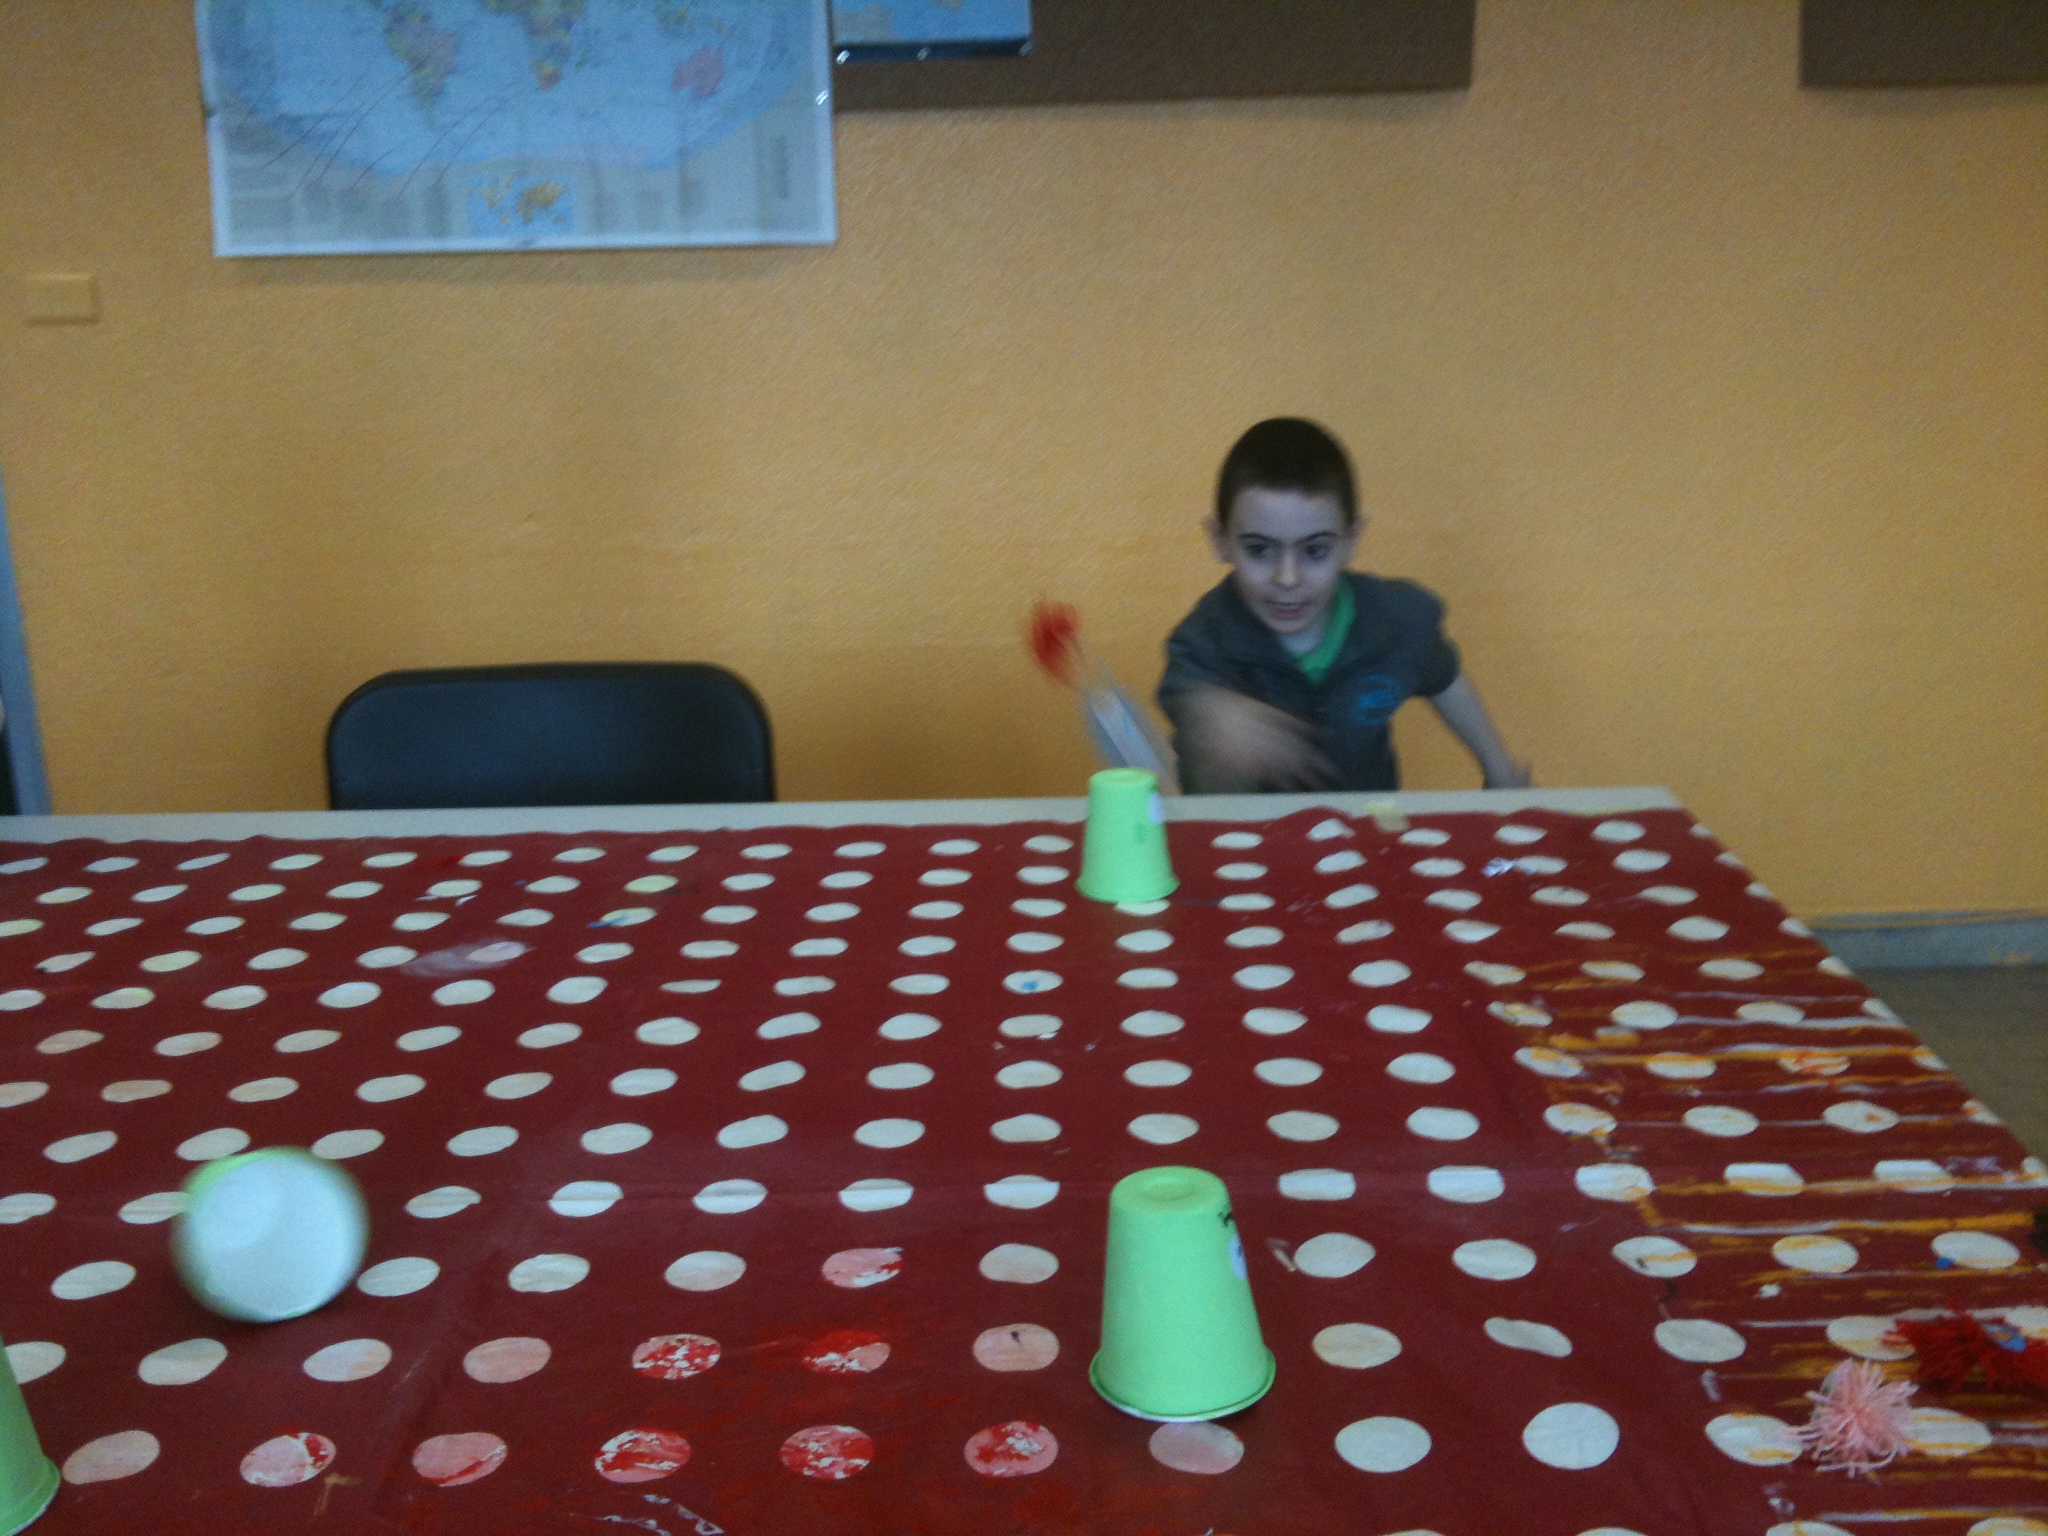 5) Now you are ready to play!
Thanks to make and takes for this funtastic idea!

 Printable worksheet for the kiddies to color.
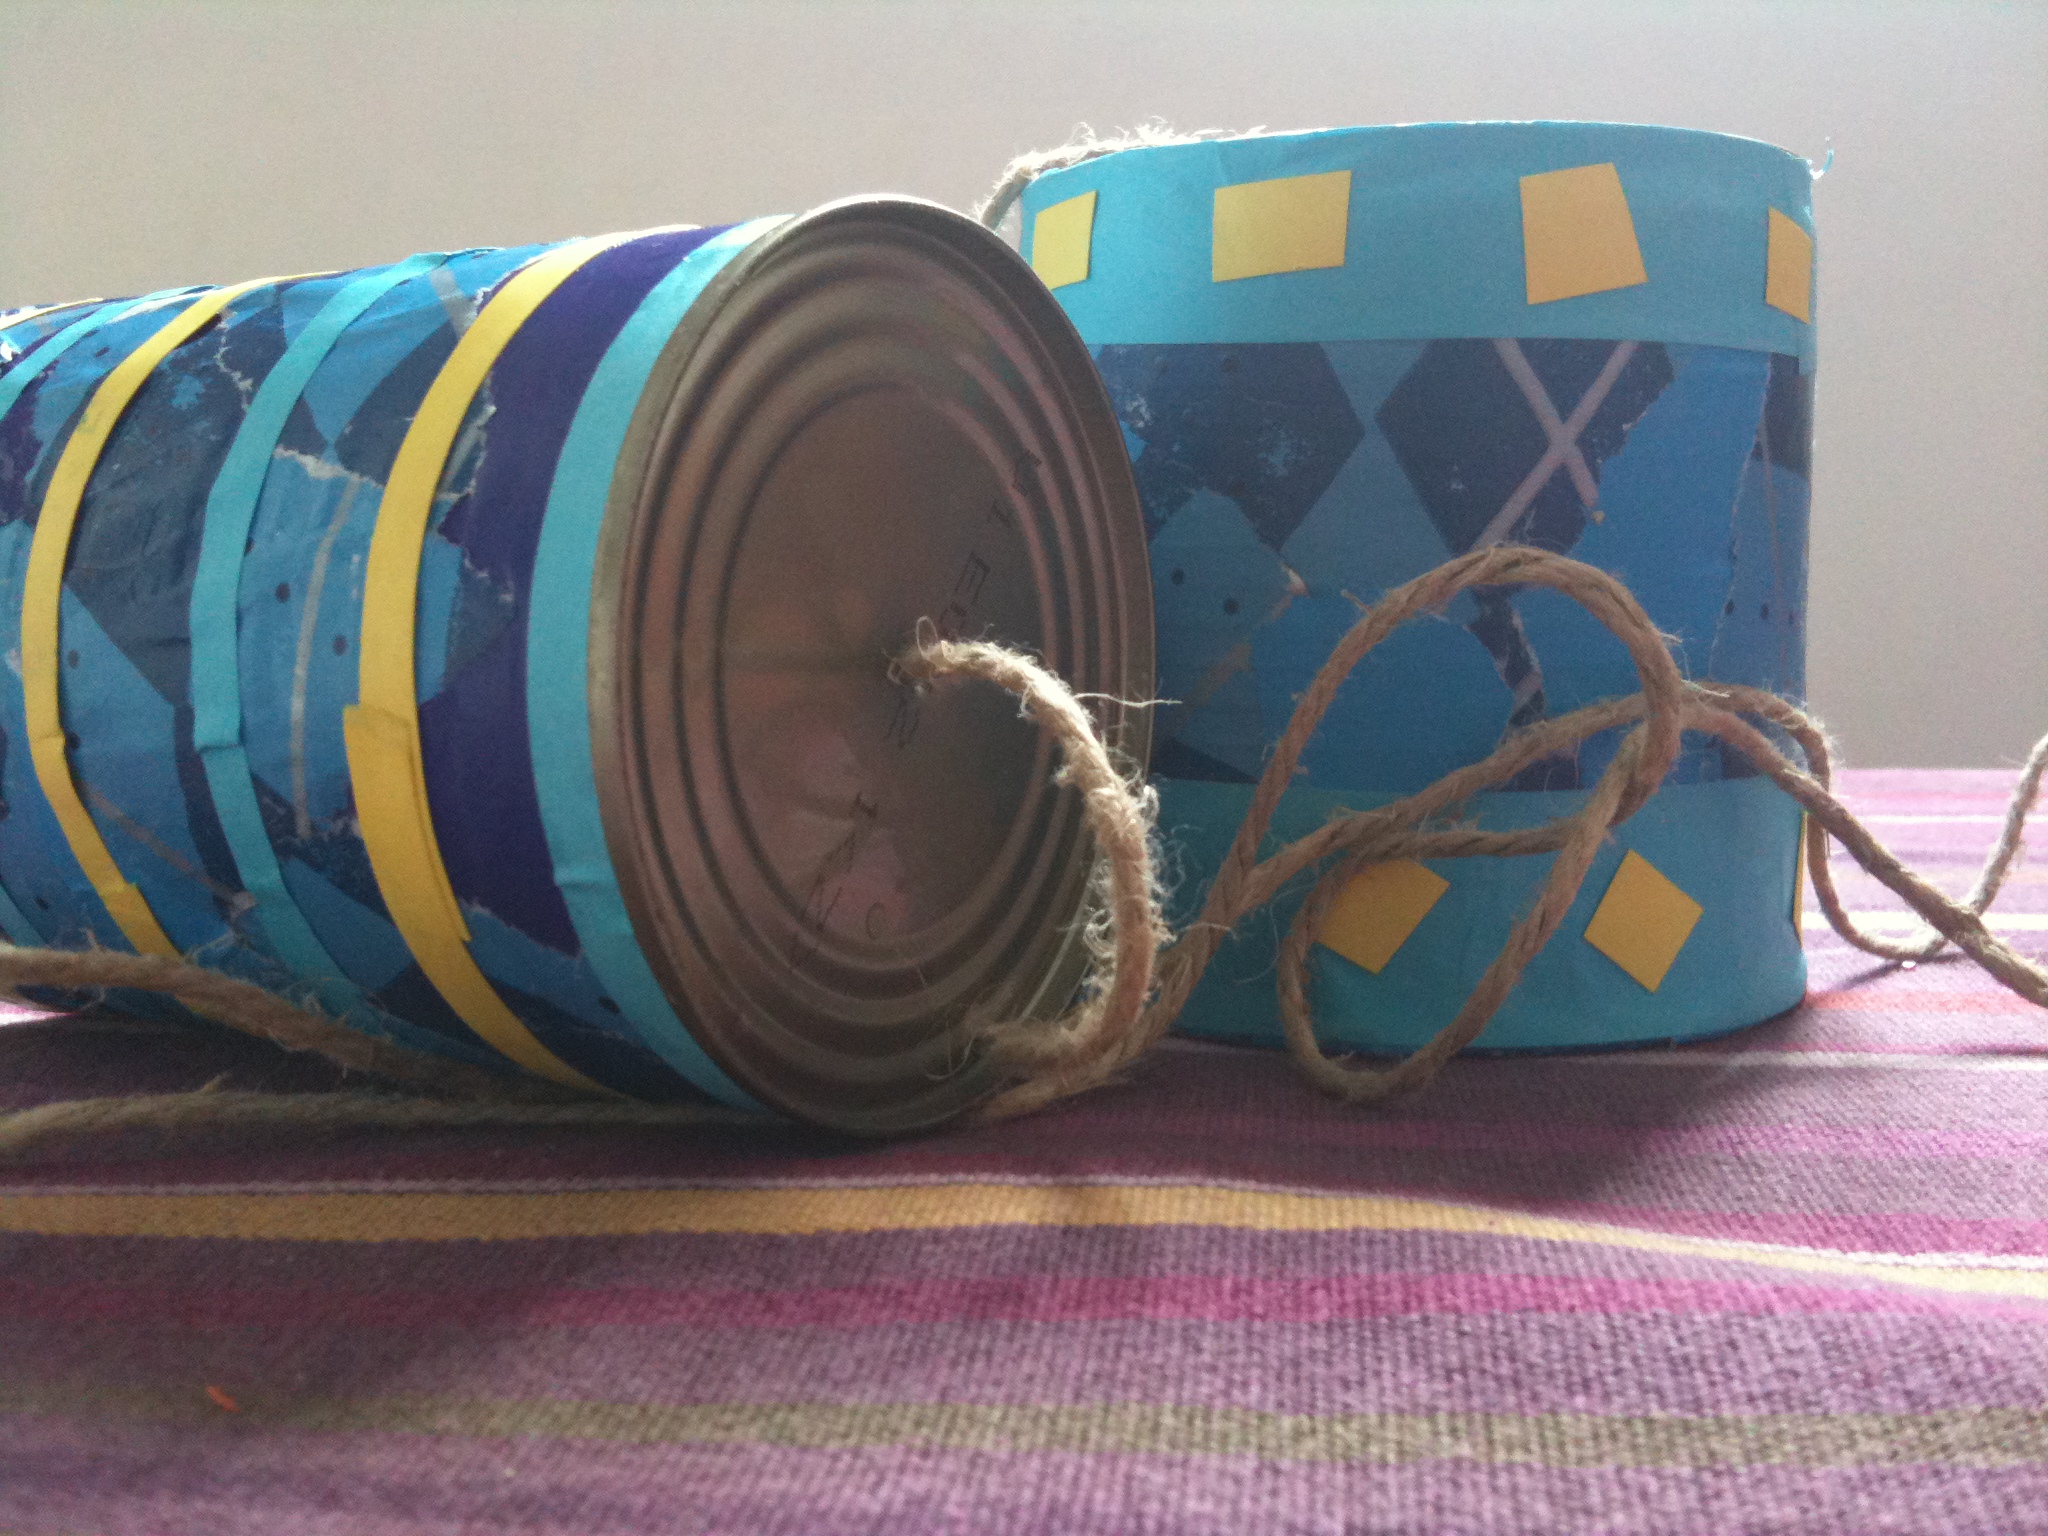
Old school toys are the best! This is such a simple toy, but has lasted over the years because it is fun as well as fascinating AND it doesn’t take much to make them.
 Supplies:
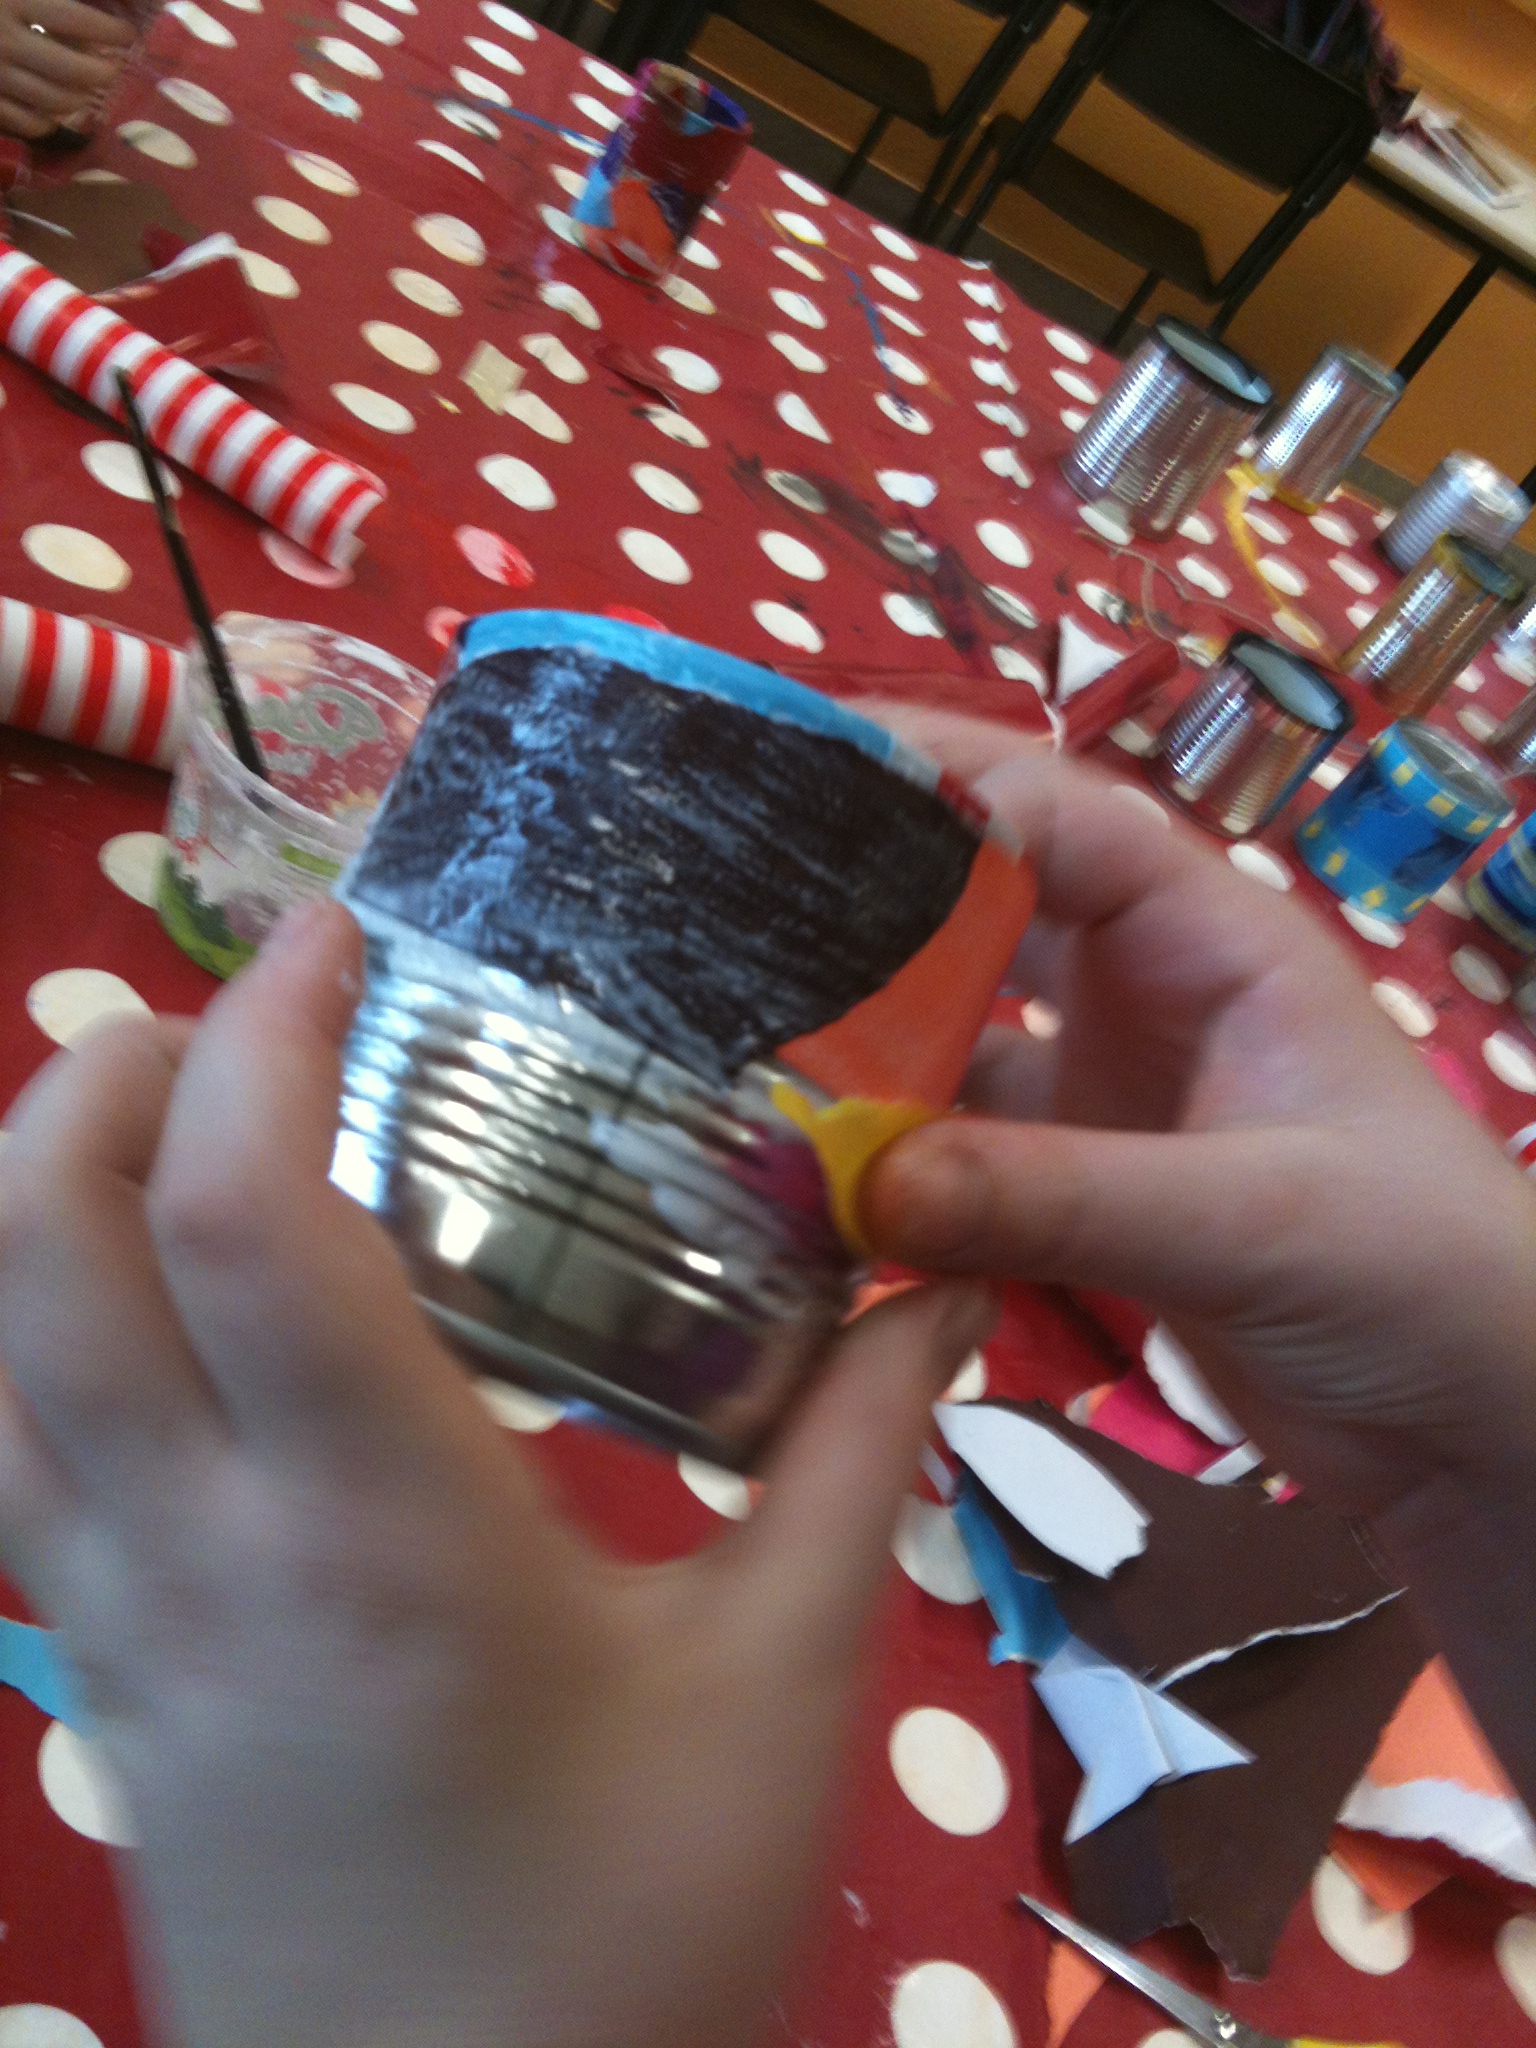 Turn the can open side down and begin to decoupage by tearing a small piece of paper and glue it onto the can. Keep on going until you get almost to the bottom. Flip the can over and finish covering it, be sure to cover the lip of the can and a bit of the inside that that all sharp and dangerous edges are covered over. (This will probably require adult supervision, especially if the can has many sharp parts that stick out). Do the same for the other can.
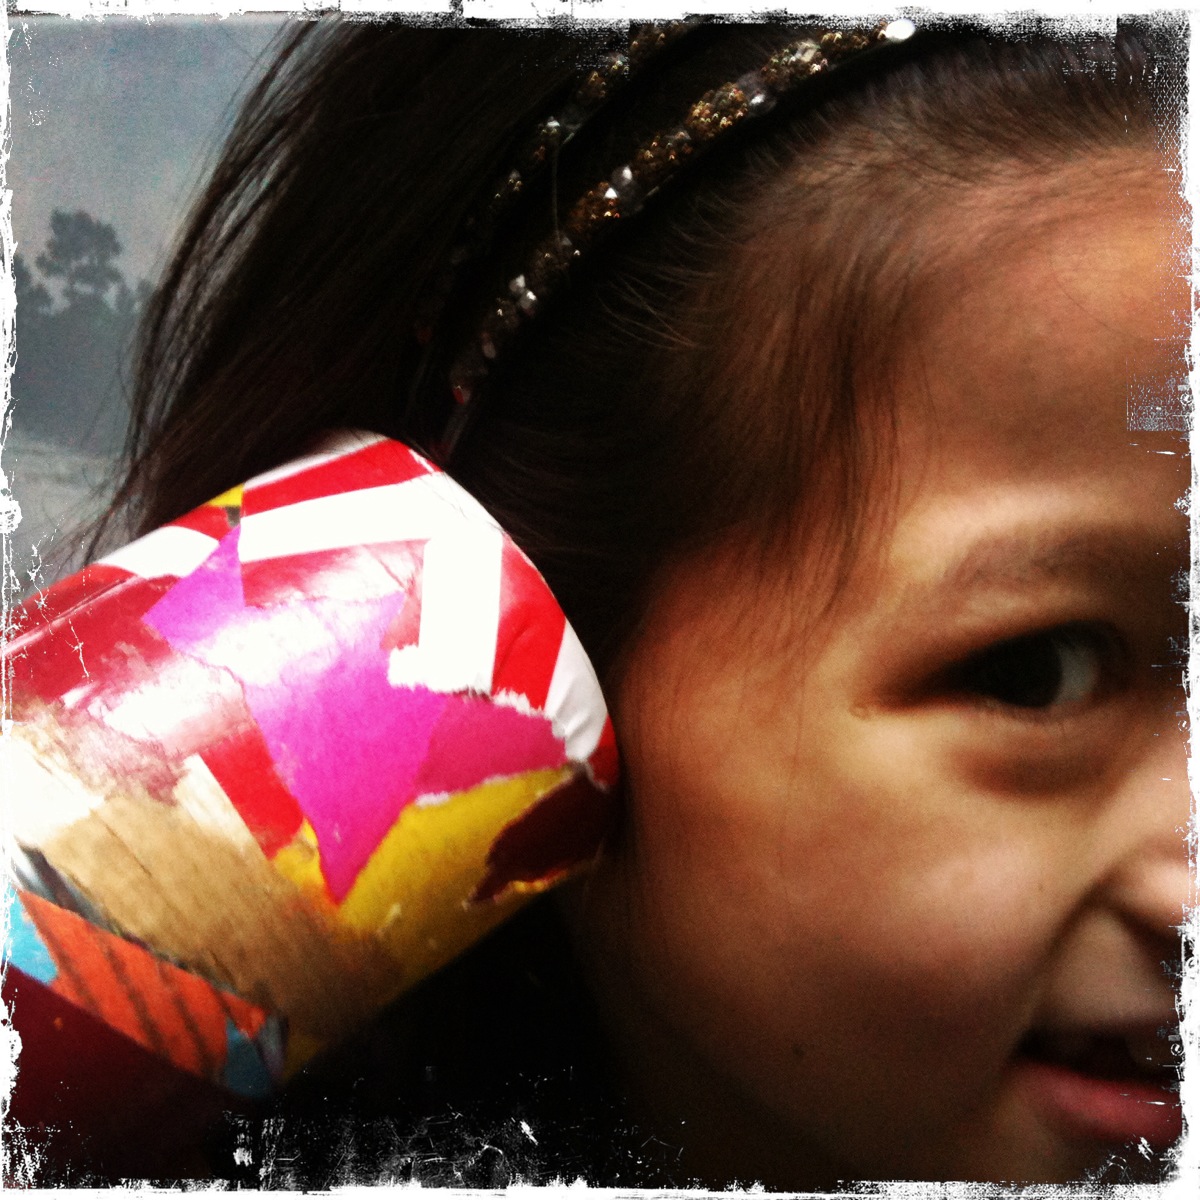
When the cans are dry, take a nail and hammer 1 hole into the bottom of each can. (This will require adult supervision). Cut a piece of string into the desired length, thread each end through the hole in the can (from the outside to the inside) and tie a knot at each end. (You can experiment with this to discover what works better or how long of a string you can use and still hear your friend). Now you are ready to talk!
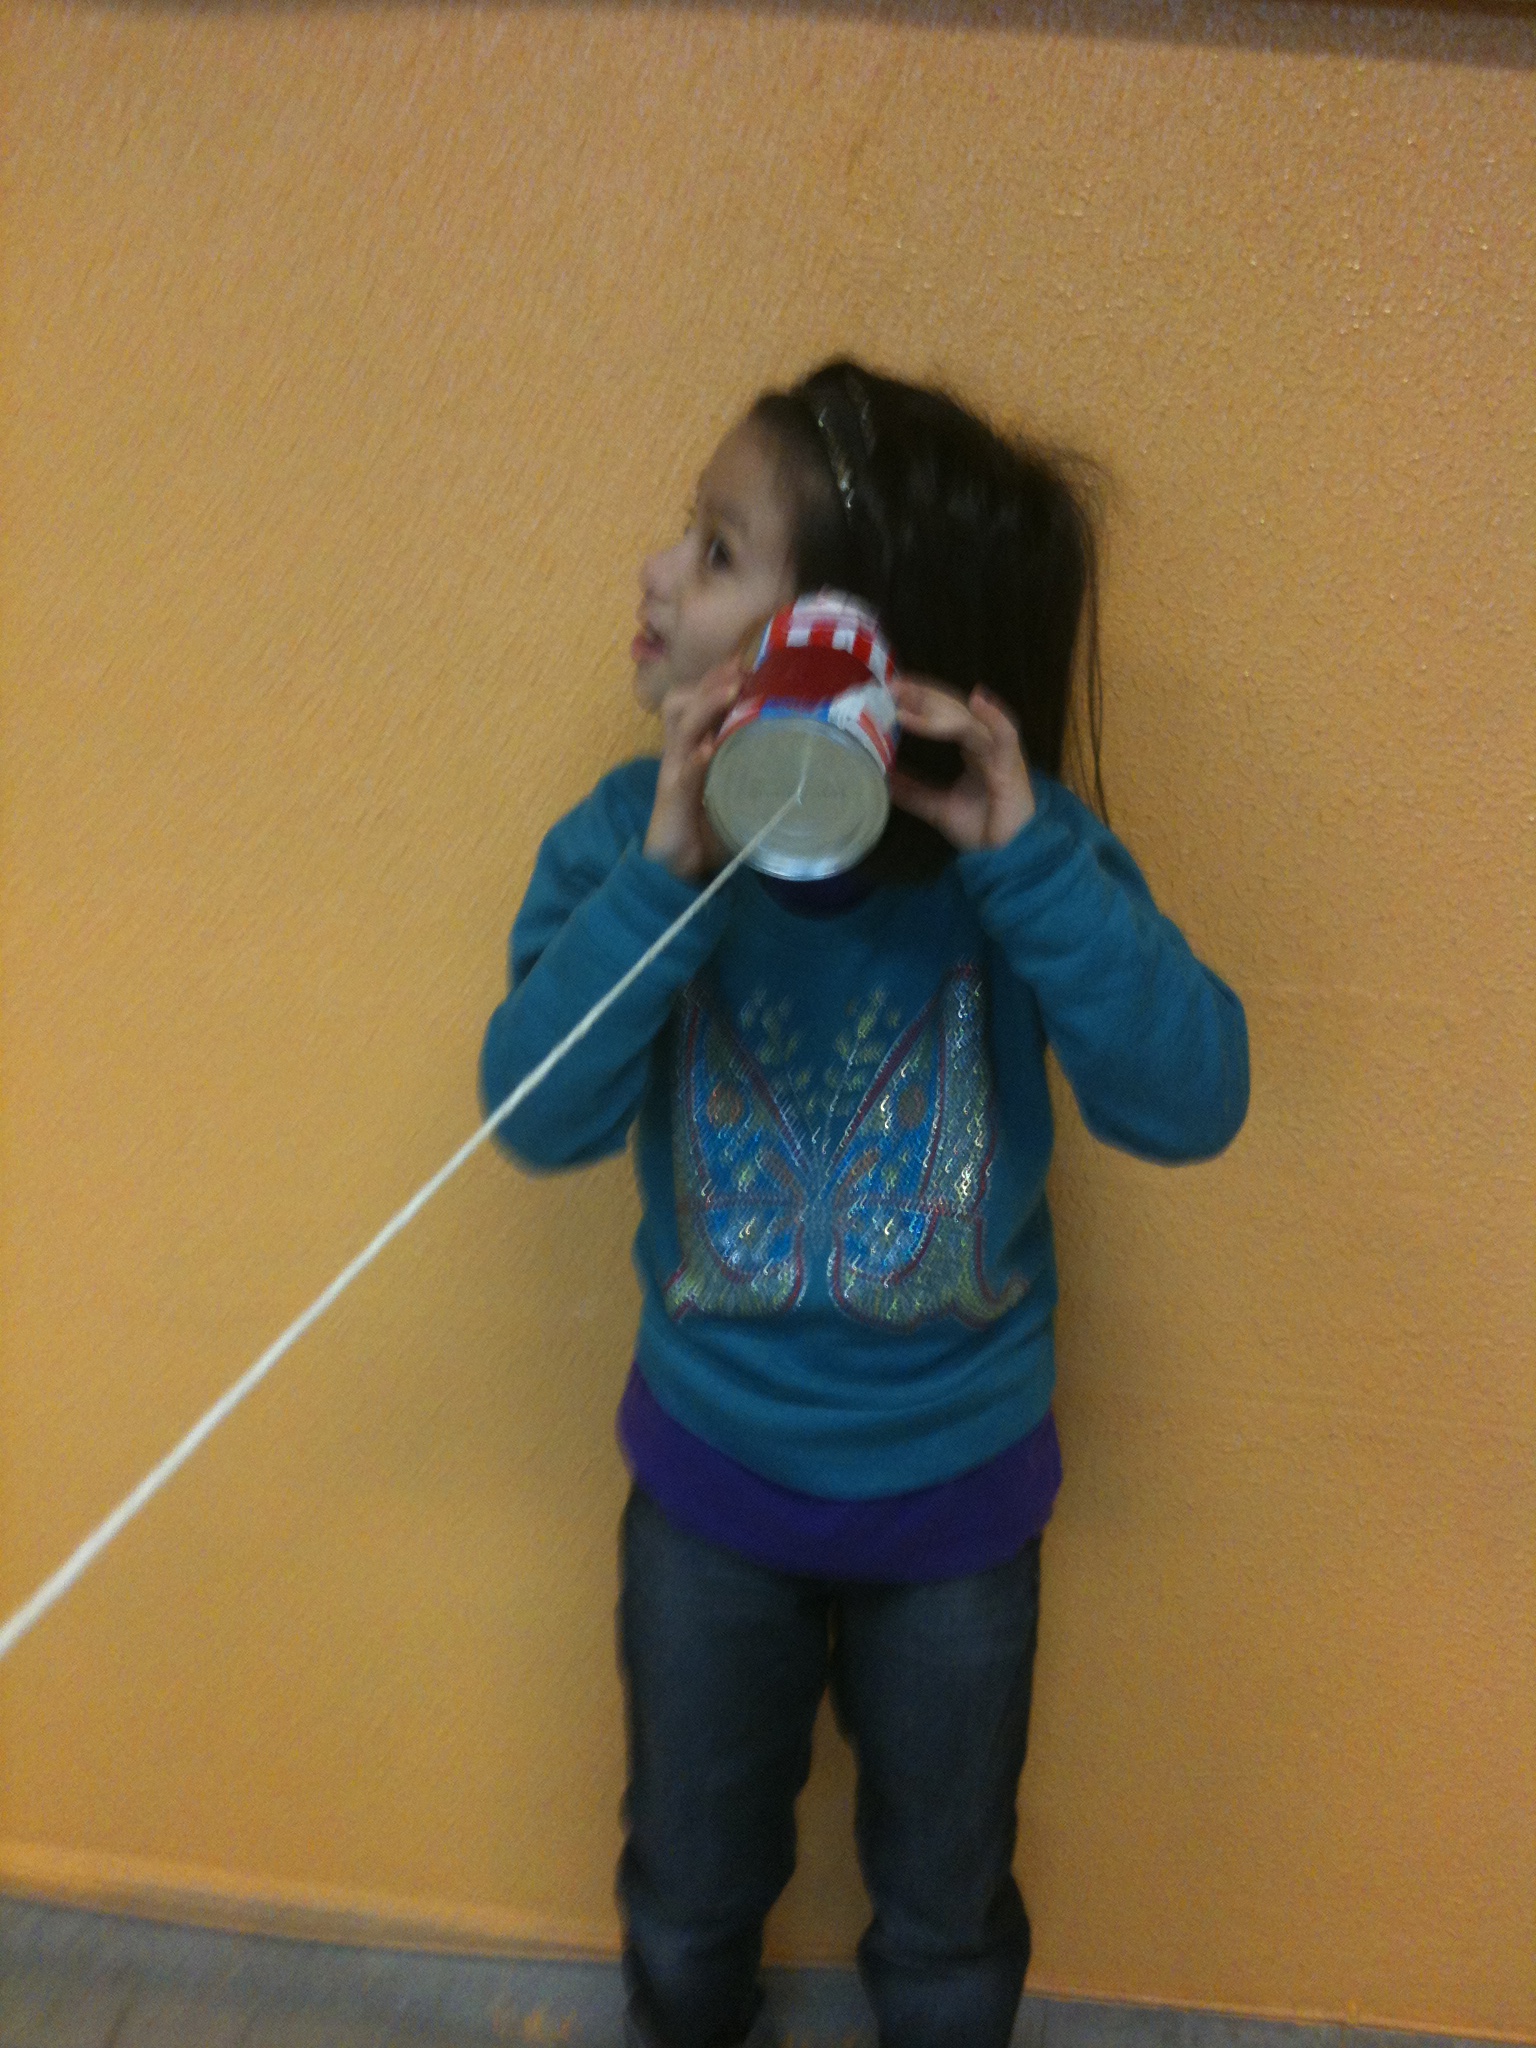
Make sure the string is a bit taught or the sound vibrations won’t travel along the and you won’t be able to hear the other person. We told the kids that the phones only worked if they spoke in English – you can trick the younger kids by having them speak in their mother tongue while the line is slack and then speak in English when the line is taut :o)

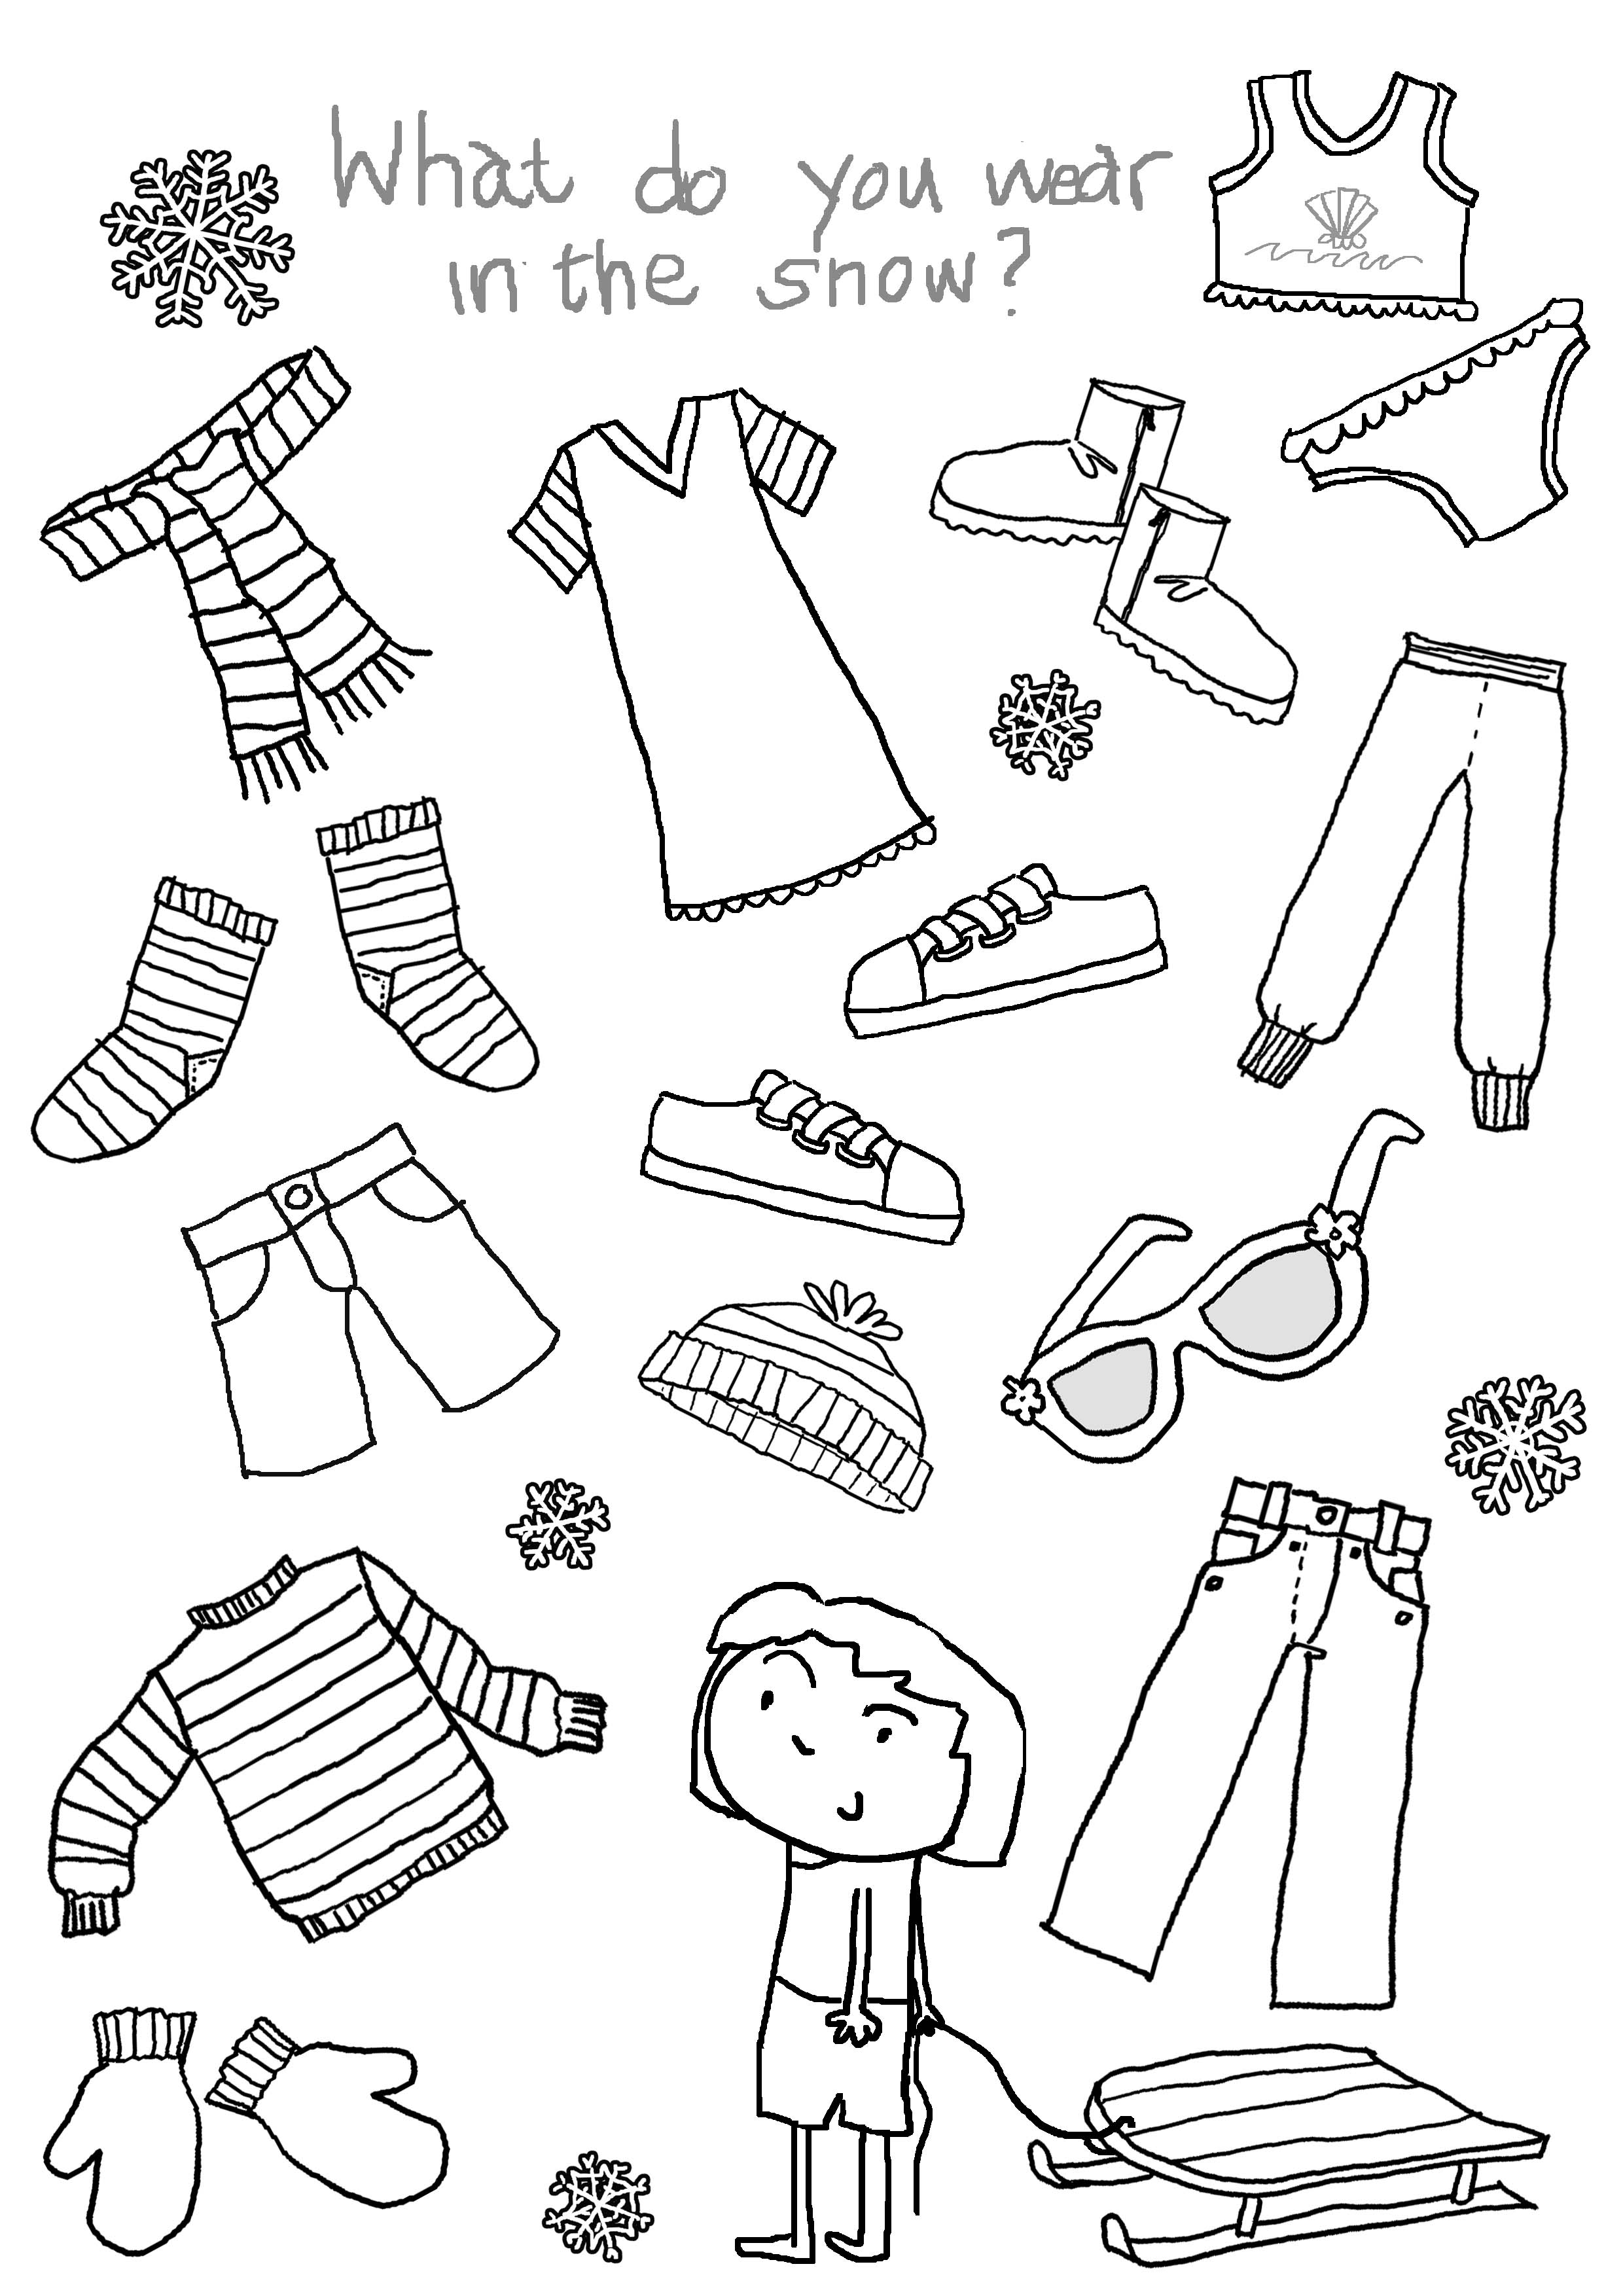
The Jacket I Wear In The Snow is our favorite book to learn about winter clothes. Here is a black and white bingo that the kids will have fun coloring or you can print 2 copies of the first sheet and use it to play memory.


It’s Carnival Time! Instead of making a whole mask, the kids gigantic face parts – and it really brought out the silly in them.
You don’t need too many supplies:
 To make the masks just draw out a body part, cut and paint. When the paint is dry, glue the skewer onto the back and…wahlah you are done.


