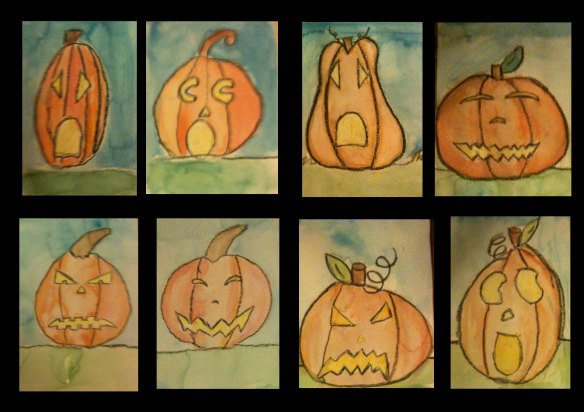
Since we teach English Through Art, it’s not always easy to create a good balance between teaching English, allowing enough room for the kids to be creative and experiencing different artistic techniques. This project was a good one clear idea: creating pumpkins that showed various emotions-not too complicated on the English, the kids could get creative by drawing the emotions they chose and the shape of a pumpkin is pretty generic so they could experience watercolors without struggling too much with how to draw.
To learn the emotions we did several games before actually rolling up our sleeves and getting to work each session. We used the cards below we played memory, charades and pictionary. Click on the link for our pumpkin emotions crossword puzzle.
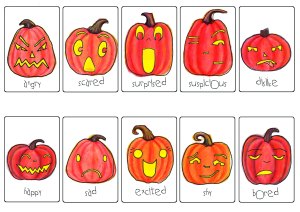 We also had contests trying to create different emotions using our pumpkin game, the first few times we asked them to do which emotions to do and after a while they had fun experimenting and have each other guess what they were doing. Before beginning to paint, the kids used the game to create emotions and then sketch them – taking careful notice at how the eyes, mouth and eyebrows had to be placed in order to convey the emotion they wanted to do.
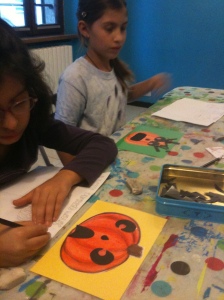 When we finally dove in, we first divided a large paper into 4 sections and the kids used a black crayon to draw their Emotional Pumpkins. They were instructed to draw 1 pumpkin and 1 emotion per section and to do the pumpkin as large as they could, but they had to stay inside the confines of the space and they had to try and use their sketches. Using water colors the kids had to shade from dark to light inside each segment of each pumpkin to give the pumpkins more dimension. This was a real challenge – trying to control a very spontaneous medium. There was one more challenge to this project – the kids were only given primary colors to paint with, so all of the other colors had to be mixed. (This was not the first project mixing water colors, otherwise I think I would cut this step out so as not to get too overwhelming). They did great and had a lot of fun.
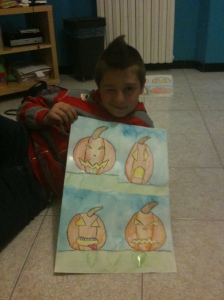 The final step was to have the kids talk about how their pumpkins were feeling. We were really proud of them, I think they were surprised at how much they learned.

